Bubble Pizza

I saw this recipe on Pinterest and a fellow blogger highly recommended it. We love pizza so we figured why not give it a try.

This recipe is super duper easy, and it makes so much.

Bubble Pizza (Casserole)

  • 2 cans of frozen ready made biscuits
  • 2 jars of pizza/marina sauce
  • shredded cheese of your choice (we had mozzarella and colby jack)
  • toppings of your choice (we just had pepperoni-Tom has boring taste buds)
2013-11-03 11.08.42

I accidentally bought two kinds of biscuits-buttered and original. Worked out though!

1. First, pull apart the biscuit into balls and layer the bottom of your casserole dish. 2. Follow the biscuit cooking directions. Cook the biscuits by themselves for about 2/3 of the cooking time. If you do not do this, the dough will not fully cook with all the toppings.

2013-11-03 11.17.43

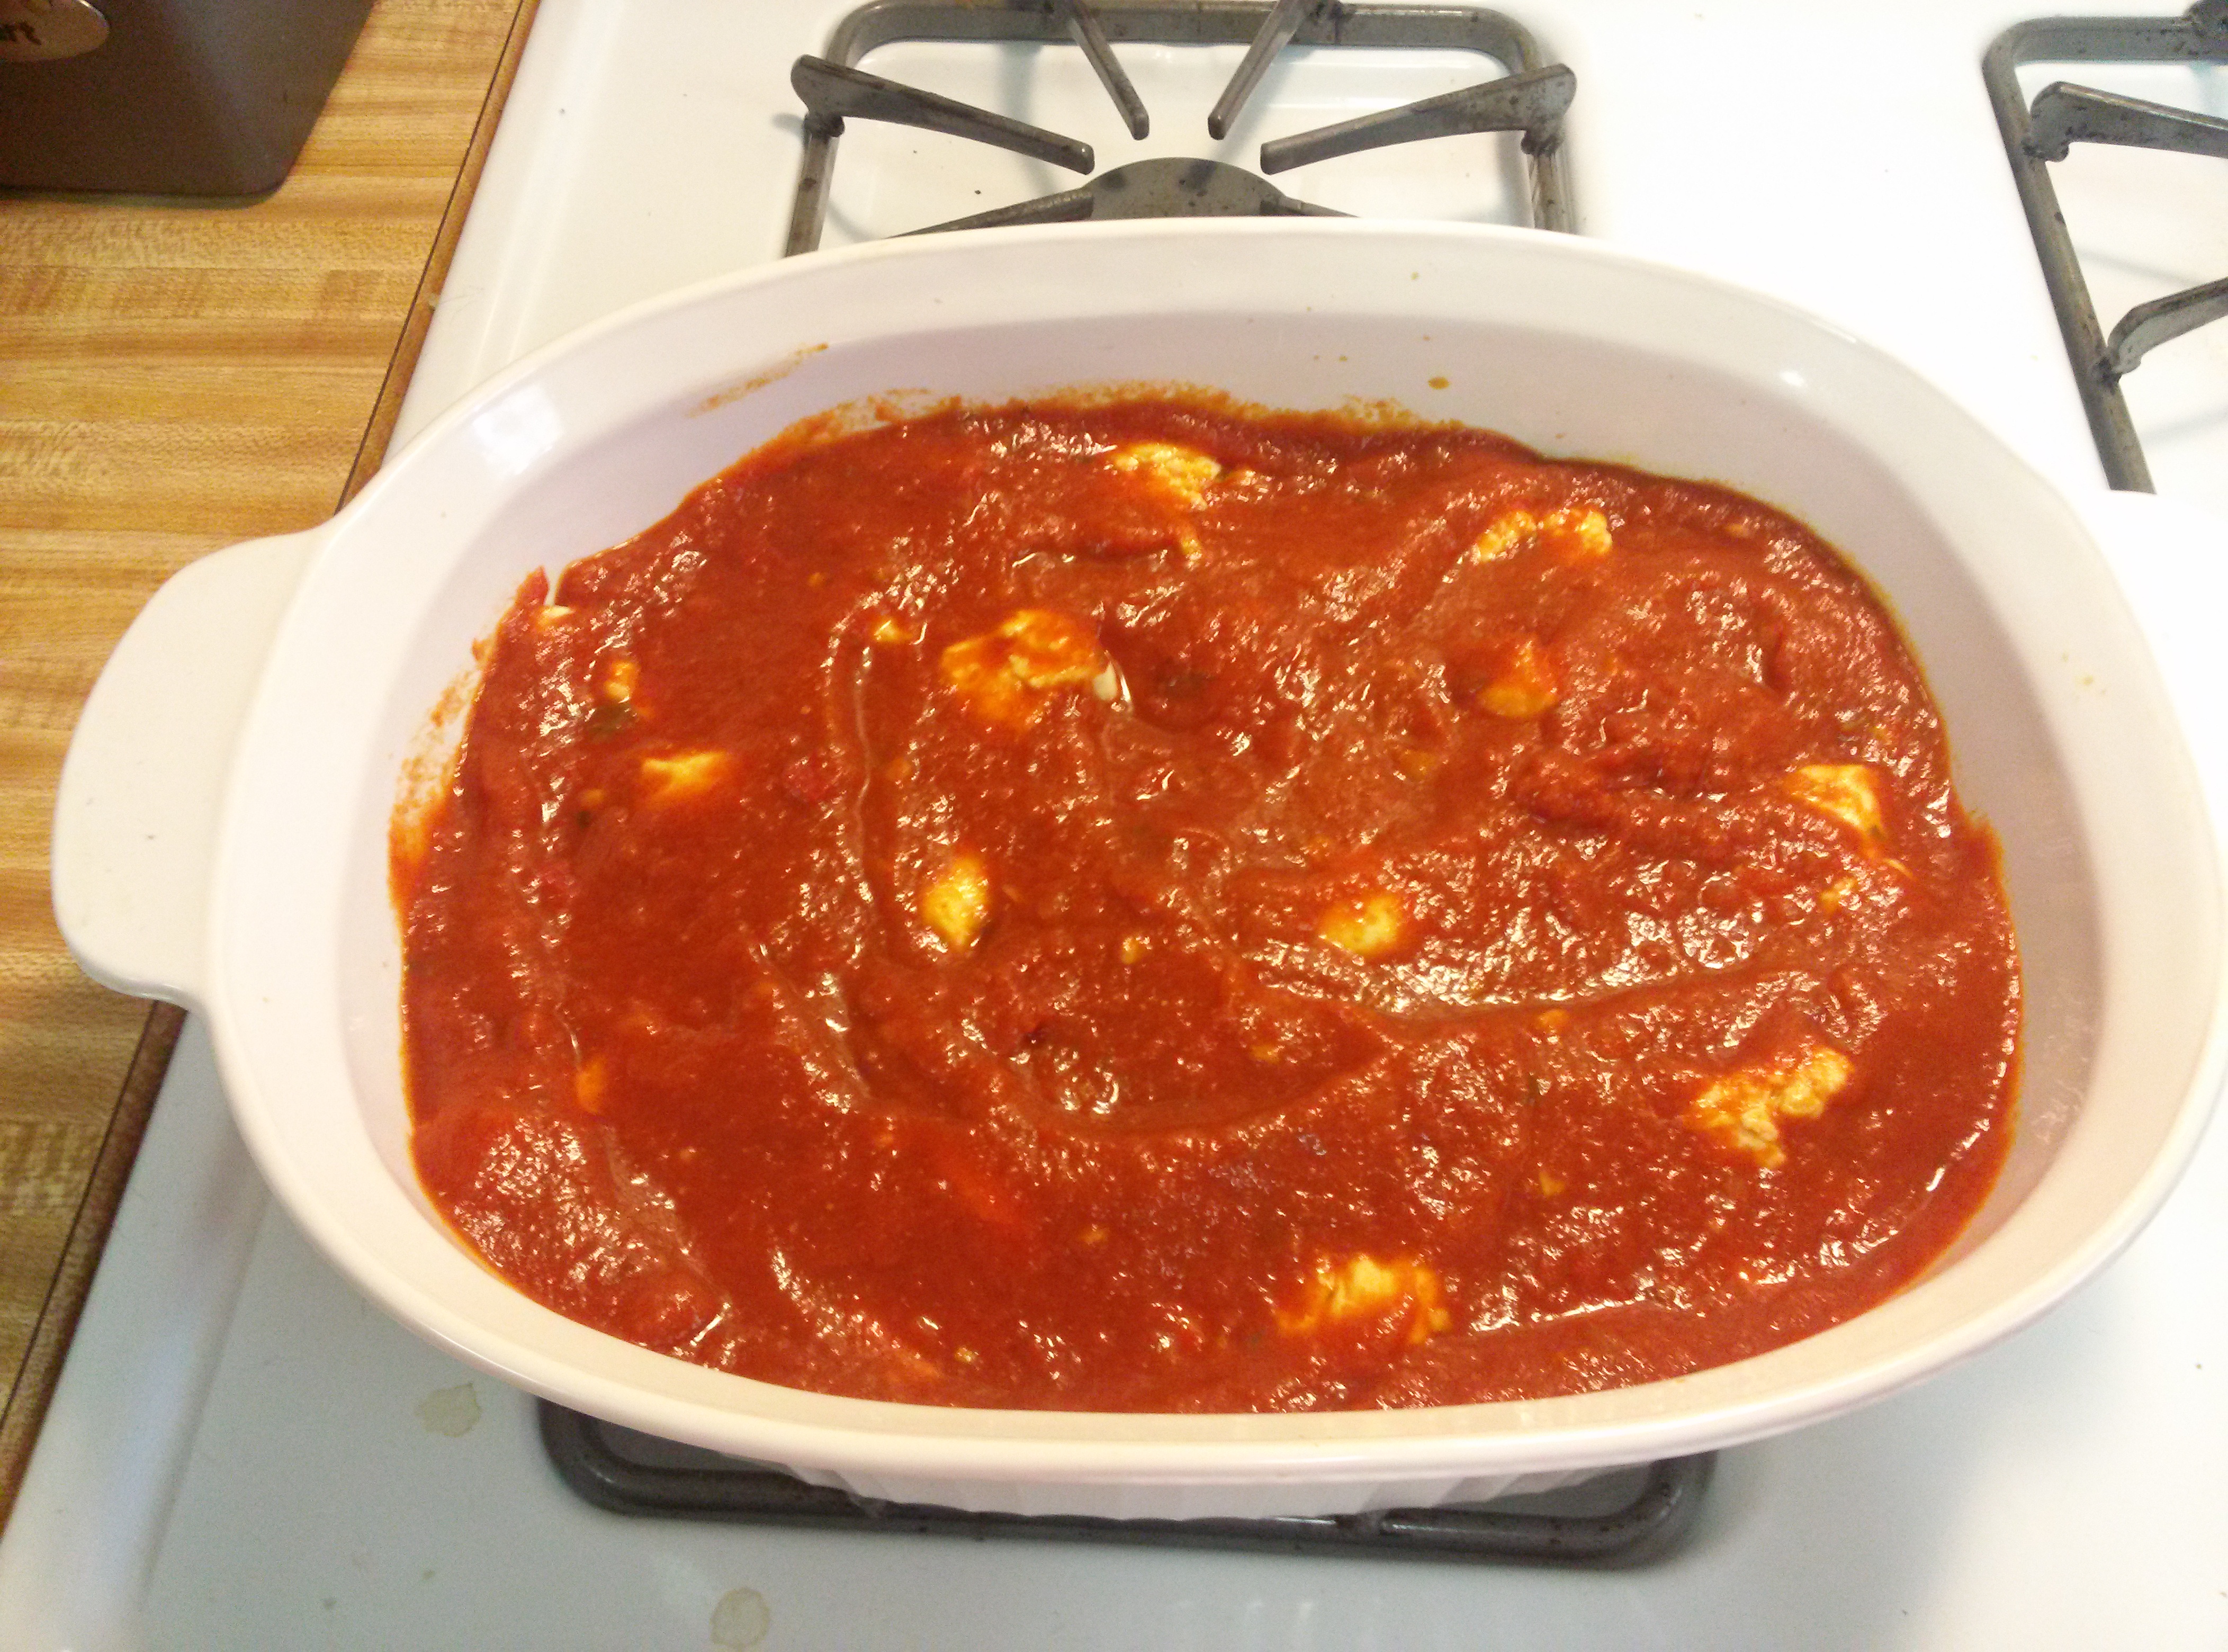
3. After letting the dough pre-cook, add all the marina sauce.

2013-11-03 11.21.16

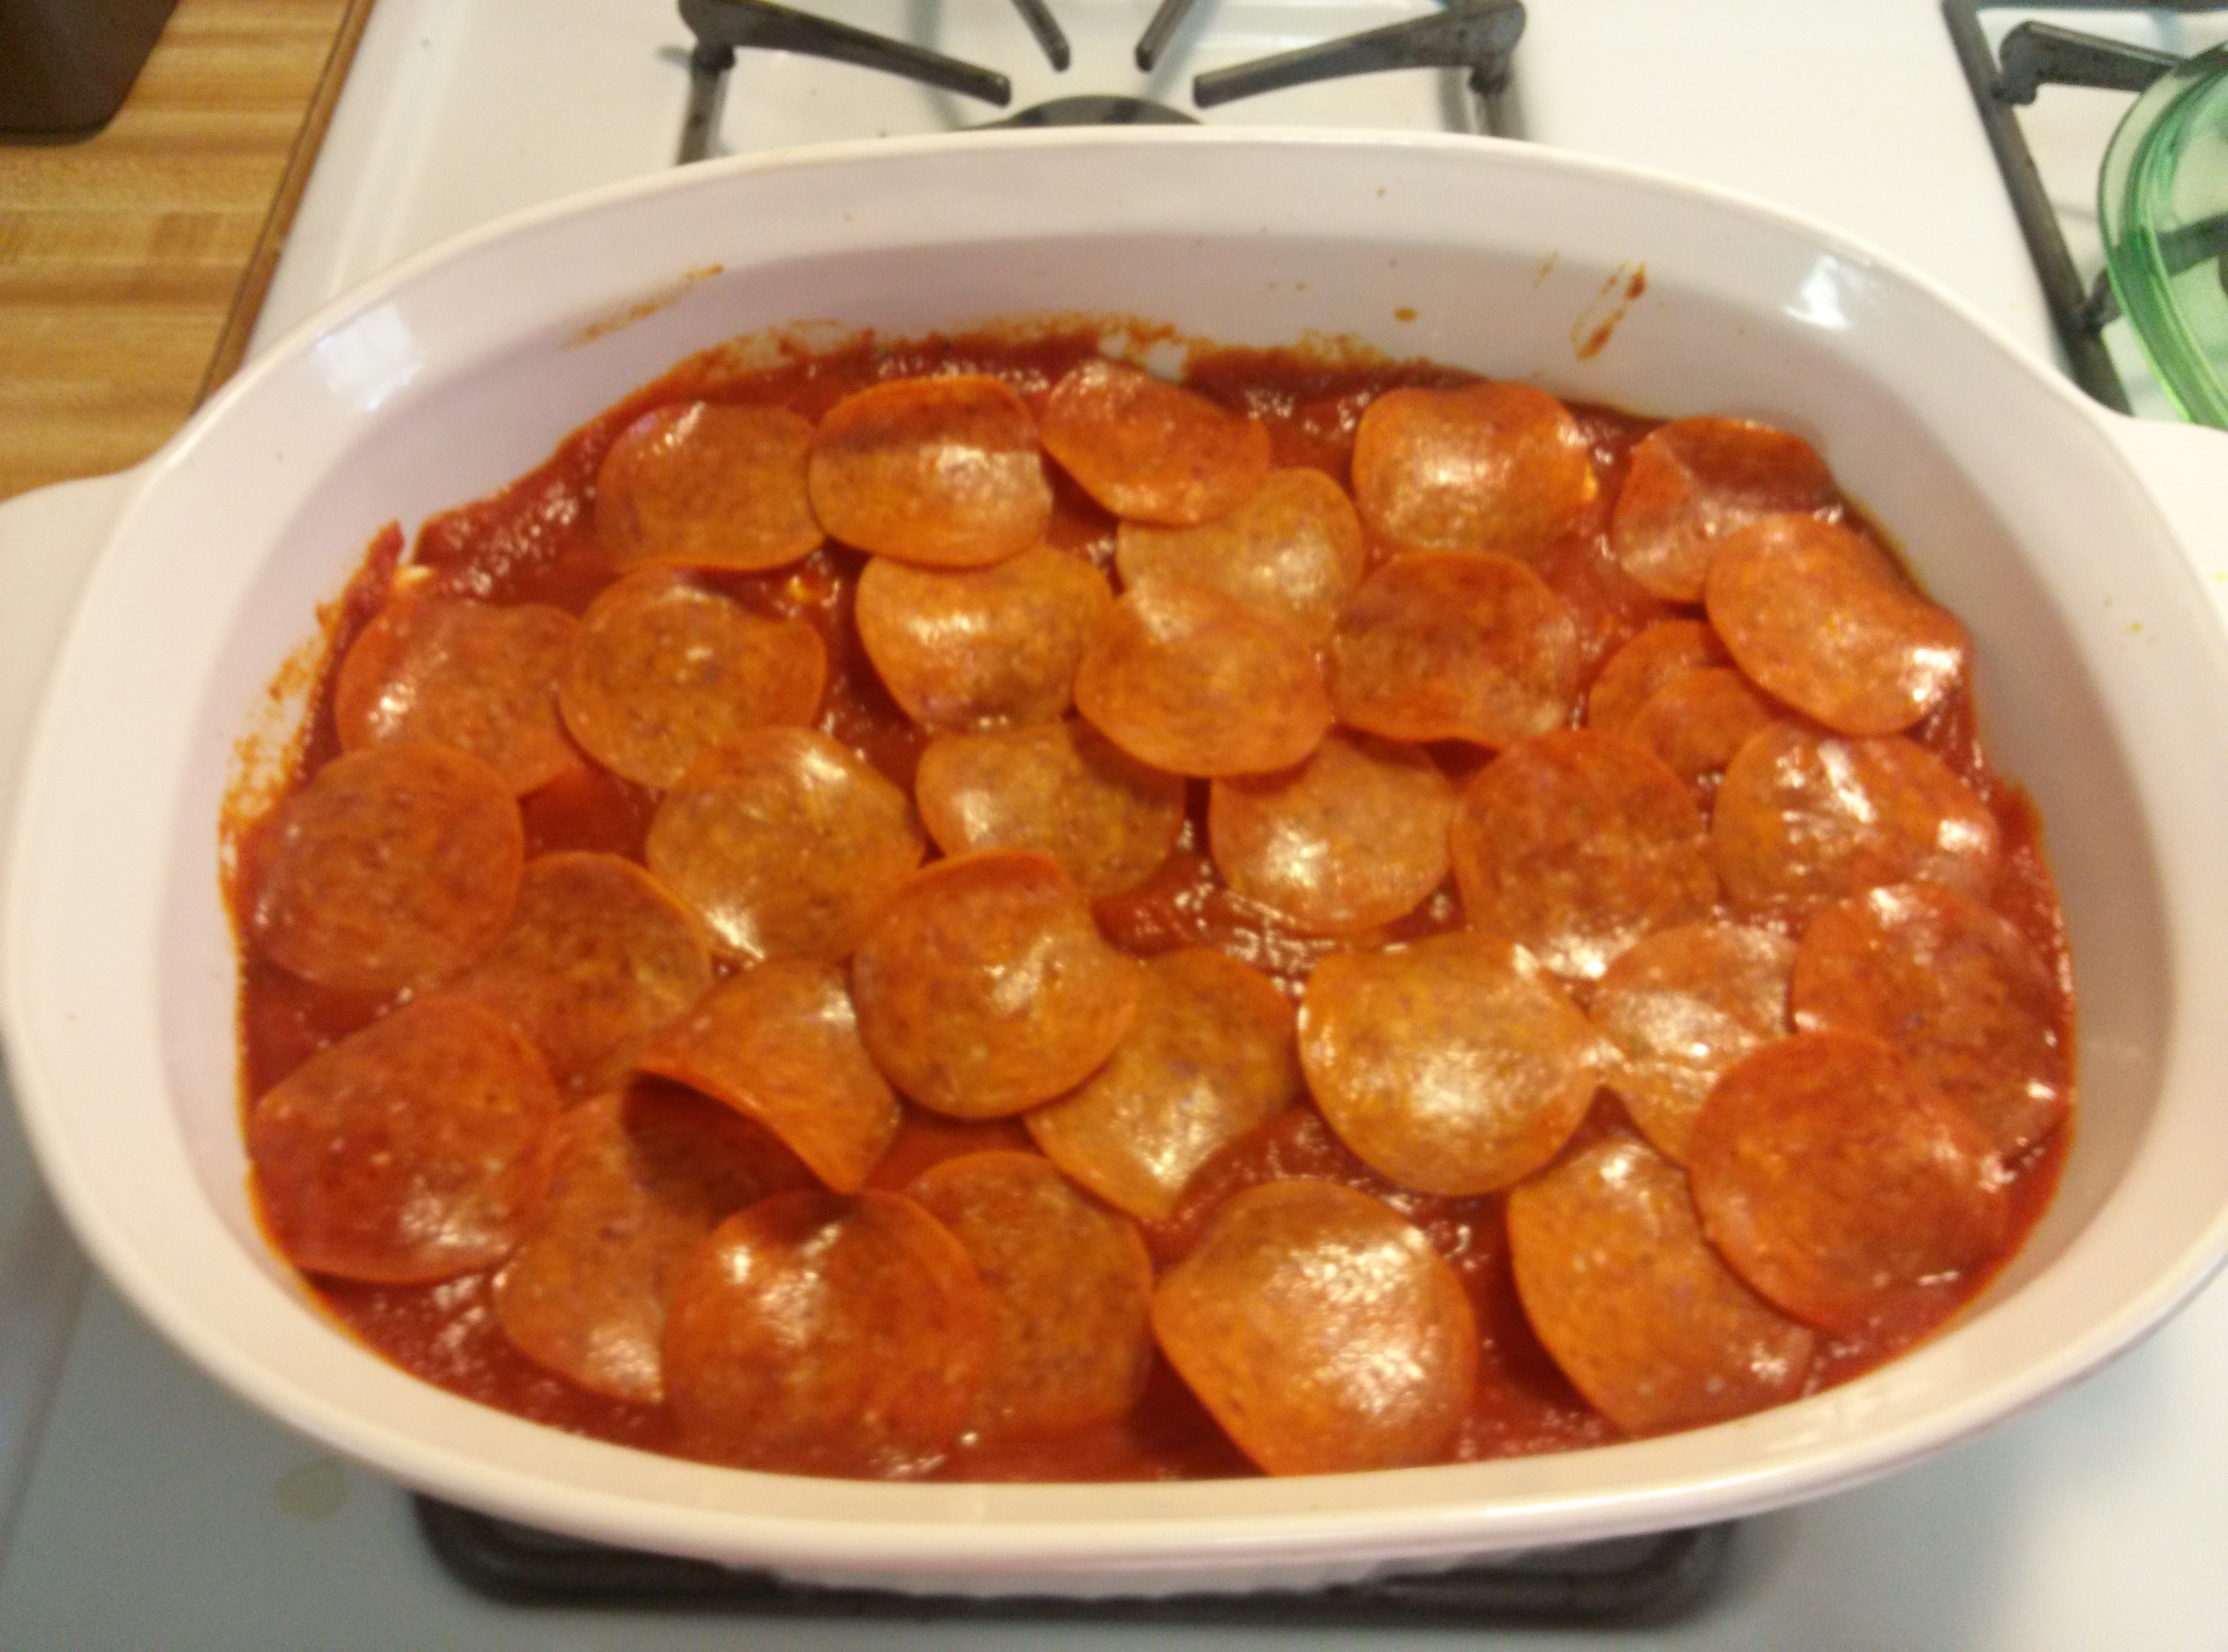
4. Add your specific toppings. You will need more than you think so you may want to layer a couple times with the toppings and cheese. We didn’t have enough to the dough ratio, so that is my advice to those who attempt this recipe.

2013-11-03 11.39.58

5. Add cheese.

2013-11-03 12.01.08

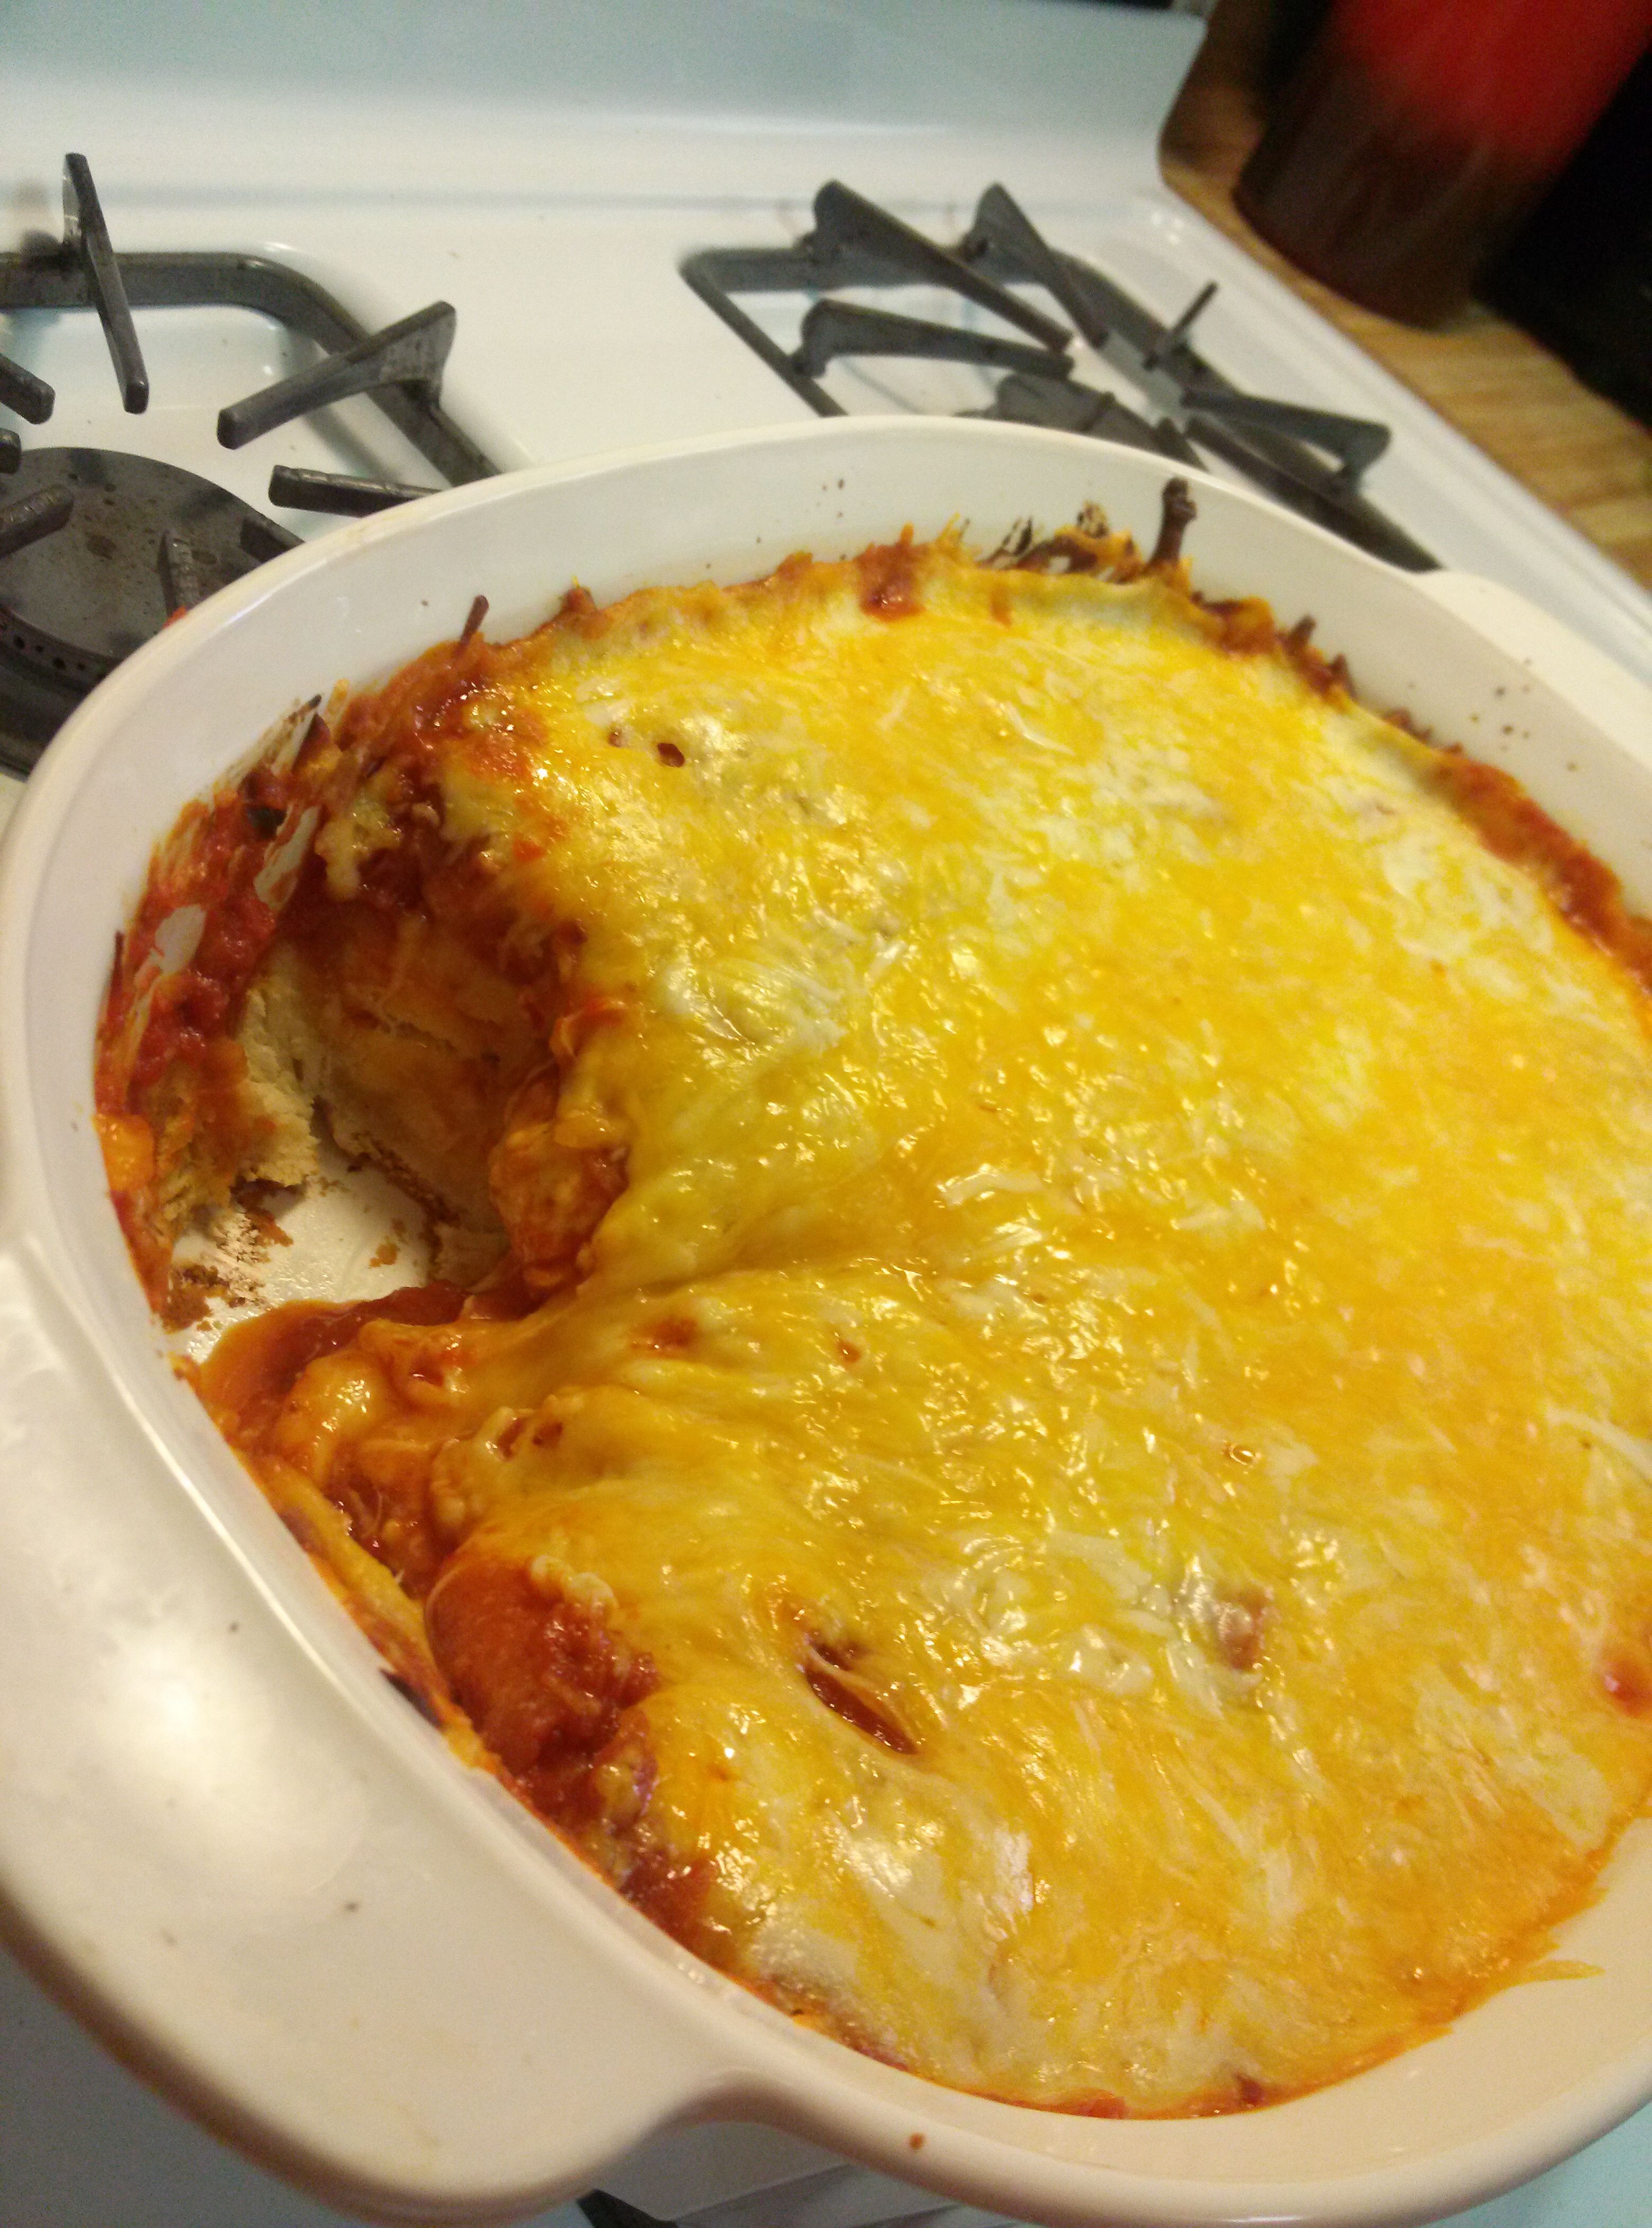
6. Cook for the rest of the time, and then add some. Again you want to make sure that the dough is cooked. We doubled the time on the biscuit mix.

7. Eat to your heart’s content.

Total time to prepare and cook was about 30 minutes.

This recipe makes a lot, but I am all about left overs. This would be great for a family. Plus you could get kids involved really easy with pulling apart the dough and adding their favorite toppings. I know I always loved helping with the cooking when I was a kid.

This is definitely a recipe we will keep in our back pocket for the cost and ease.

I joined up on the Kitchenspiration today with Chelsea and Stephanie.

Our Little Nest

Painting a Reminder

I am a very visual person. I have to write things down or see it in order to remember it. Post its are my favorite office supply, and I have several planners to keep track of all my lists.

So when I was going through some of my rougher days trying to remember to be passionate about my job, I decided to give myself a reminder.

IMG_5400

Start with a blank canvas and paint

IMG_5402

drop dots of paint all over the canvas

IMG_5407

Use a small paint brush to smooth and blend the colors together. There is no method to this, just create what you want!

2013-11-13 09.49.11

Paint wooden letters then hot glue them on the canvas.

This was so easy to make and is a great reminder in my office every day. I am there for the students.

2013-11-13 09.49.22

Adding some color to the walls

This project is super versatile. You can do it without the letters and just have the painting. You could also keep the colors in the same hue to blend. Obviously, you could have any saying/words you want. You could also tape the words down first then paint over it and peel it up so it isn’t 3d like I have here. You could also do this finger paint style if you want to do it with kids (or adults).

As you can see, this is easy to create to your own style.

I love reminders, and I love art:  perfect combination!

The Hairy Details

So after yesterday’s heavy release here is something a little lighter for Throwback Thursday.

I have been collecting hair bobs for awhile.

IMG_7535

This collection started when I was working at Worlds of Fun, an amusement park in KC. I started the summer after high school and worked there every summer until I moved to SC for grad school.

72_507305923525_4796_n

They were sticklers on wearing a uniform. For 6 summers I essentially wore the same clothes over and over again for 60ish hours a week.

wof collage 1

And I have pretty unruly hair on a normal day. Then add sweat and humidity to the mix, and you have a massive frizz ball. Thank you Missouri summers.

wof collage 3

So my answer to not only control my crazy stray locks, but also try to seem like an individual with some pizazz, was headbands. And the couple summers I had short hair, clips and hair bows. I really did try to look cute in a skort and tennis shoes with a pocket protector. The headband totally masks the big dork factor right? It must have worked because this is where Tom fell in love with me!

wof collage 4

With all that said, after several years working at the park and now 5 years removed, I have quite the collection.

The basket does well to hold all the headbands, but I cannot always see the bows.

We broke a frame a little while ago for another project, but I didn’t want to throw it away. We also had all of the other supplies left over from previous projects. My grandma comes out of me in the best of ways. Never waste anything.

Supplies needed:

  • frame
  • spray paint
  • ribbon
  • hot glue gun
  • love of hair trinkets
  1. Spray paint the frame
  2. Cut out strips of ribbon that are the length of the frame.
  3. Hot glue the ribbon tight to the edges of the frame. Glue it on the back of the frame.
  4. Hang on the wall!

This is a very quick project, and it also livens up the wall too.

IMG_7538

IMG_7541

This would be a great gift idea for all those little girl bows that are all the rage for kids these days.

Or for a 28 year old friend…just saying.

So thank you Worlds of Fun for starting this hair thing obsession.

wof collage 2

Talks with Tom #11

Recently when we were home, we chauffeured our 4 year old niece around.

Tom-Ava K, what kind of music do you like?

Ava-My Little Pony, My Little Pony (singing this to us)

Tom-How about Bob Marley?

Ava-Oh, I have never been there before.

PicMonkey Collage3

She and Uncle Tom have a great relationship!

We were home for her birthday. It was a pretty “roaring” party.

PicMonkey Collage2

As you can tell, she had a dinosaur themed birthday party. She knows all the dinosaurs names and categories. Did I mention that she is four?

Even though the trip was short, it was fun to be there to help celebrate her day.

PicMonkey Collage

My sister-in-law is so creative and did a great job with the theme! I loved taking pictures of the whole day!

IMG_6935

Birthday Girl!

IMG_6512

Family photo with Longneck

That Day My Husband Had Surgery

Last Friday, Tom had minor surgery to remove a fatty tumor from his hip. The thing was huge and disgusting to think it was inside his body. It was about as long as my hand and about a quarter width around. Gross. I will spare you the pictures Tom has.

Anyway, it was an outpatient surgery, so he was free to drive home afterwards. But you think most people try to take it easy when they just got cut open.

I came home that afternoon to Tom rebuilding his bumper…

IMG_7048

When Tom gets a project in mind, he has a hard time not finishing it right then.

IMG_7049

He welded on his own design of brackets, which saved us a little bit of money in trying to find a professional welder.

IMG_7058

He got the winch from a buddy of his who is getting rid of their Jeep. Score saving another bit of cash instead of buying this brand new!

IMG_7059

Off road dream car

IMG_7064

So determined

IMG_7066

not feeling the surgery at all

IMG_7067

putting off dinner plans

IMG_7071

living out his dream

IMG_7080

my husband the mechanic

IMG_7089

making sure everything is secure

IMG_7101

You can imagine what I was thinking when I came home to this.

IMG_7158

We are officially ready with our end of the world vehicle.

Gotta love it.

This is also my 100th post on the blog! Craziness!