All Those Monkeys Jumping on the Bed

In early December, we dismantled our bed, and have since been living on the floor. This bed we made last summer was just too high for the dogs. There were several times that both dogs fell or rolled off the bed. And Grace really struggled to get on it sometimes.

So in fear that we would see one of our dogs get injured, we decided to forgo the idea of having cubbies underneath the bed for storage.

It really is about the dogs.

While I do love camping, I don’t want to feel like I am doing it all the time.

No fear since that bed was made in pieces, we are now using those cubbies as shelves in our closet. So it has actually worked out pretty nicely, except for the whole sleeping on the floor for a couple months part.

We finally got around to making our new bed recently.

We saw a headboard in the PX that was the inspiration for this. We just didn’t want to spend $900 for just the headboard.

I also don’t get the idea of bed skirts.

So Tom solved both of these problems with this new design. We spent a little under $200 for this. Bargain!

Bed and Headboard

Here is most of the wood. We also had wainscoting pieces as well.

Bed and Headboard

This is the frame for the headboard.

Bed and Headboard

The frame with the wainscoting added.

Bed and Headboard

A closer look.

Bed and Headboard

Then Tom made posts for the ends. It is super expensive to buy solid posts so he just made them out of thinner wood. Then he put a cap on the top and used a router to add a nice trim.

Bed and Headboard

He made the base box that the box springs can fit in. We only had three sides because the top will be covered by the wall and headboard. We used one coat of stain for everything.

Bed and Headboard

He rounded all the edges to make sure we wouldn’t hurt ourselves.

Bed and Headboard

The staining was my only contribution to this project. Heads up, wainscoting is really difficult to stain because of all the grooves that collect globs of the stain. You have to work super fast! But I made it happen.

Bed and Headboard

The pieces all together.

Bed and Headboard

It looks great next to the side tables he made too. We are thinking of cutting them down just a bit to make them a little more even with the bed height, but for now they work just fine.

Bed and Headboard

Sorry for the drabby bedding. With two boxers, we don’t have decorative pillows or nice bedding. We go purely for comfort. Judge away if you must.

Tom did this all in an afternoon. It is a fairly quick put together from watching him. I love that I can point at something or think of a design, and then Tom can make it come to life. He is so handy!

If you would like more directions on how to measure and whatnot don’t hesitate to ask!

Our bedroom looks like a bedroom again! I really love the headboard, and the dogs love the ease of getting up on it.

Talks with Tom #6

This weekend was tax free weekend here, which apparently in TN is like another Black Friday event. They throw out tons and tons of sales around here to coincide with the tax free time. One of the gals at work went at 5:30am on Friday to hit up some stores for her little tykes to get some of the hottest new school items. I don’t remember this much hoopla in any other state I have lived in.

So Tom and I went to the mall yesterday to take advantage of some of the excitement. We had a great time shopping together.

After Tom selected his new pair of tennis shoes for work, he lingered near the shoelaces display rack.

Tom-“I have a dazzling new pair of shoes, should I get shoelaces to match?” His eyes were sparkling and lit up with glee.

Me-“Really?” (I have married a 5 year old. We might as well have gotten light up shoes.)

Tom-“Yea, I need to branch out from blues, greens, and all the earth tones.”

Me-“I think you will be ok with just the ones the shoes provide.” (which are yellow and black)

Amidst his rugged and sometimes obscene personality, he has his moments as a sweet and endearing hubster. We broke ways so I could go into Maurices while he went to Radio Shack. I like shopping in peace, so this works out in our favor. Moments after perusing some of the new skirts, Tom pops up and says, “You’ll find me at Mr. Bulky’s.” And I am fairly certain he skipped away to find his Jordan Almonds.

Resisting the urge to buy a few items, I left a few minutes after to follow him to see what kind of sugar coma he was about to go under. My heart melted when Tom pulled away from the cashier with an ICEE. He told me I could choose between mint chocolate truffle and the ICEE. The choice was obvious. ICEE all the way! The thought of the mint chocolate was sweet too, since I love most things with mint and chocolate. Love him.

Also, if you have never been to ROSS, you need to hurry up to your nearest store. It must be a southern store though, because I have never seen them back in the Midwest. It is a fantastic place to find some hidden deals for clothes and household items. We have been in desperate need of rugs, but weren’t willing to shell out the ridiculous amount of cash to do so. Our floors are bare no more! We bought two door mats, two long hallway ones, and one large one for our living room. We spent about $75 for all of these! And they aren’t just cheapo rugs either. Elsewhere you could have spent at least $25 for the small ones, and well over one hundred for the large one. Win for us!

Other highlights from the weekend:

  • Our family was in town. Five extra people in the house and another dog for Gracie to play with!
  • BBQing
  • finding the best local pizza place in town by accident (Luigi’s-the crust is delightful)
  • Farmer’s market, even though it was raining-I had the best soft pretzel!
  • My niece, Ava, teaching me how to play My Little Pony’s correctly and everything about the “Elements of Harmony”
  • introducing Ava to Mulan
  • watching the wedding episode of the Office-Love Jim and Pam!
  • people watching at the mall

I got out the fancy camera to practice some of my manual modes. Ava was a great subject! I still need to get a good editing program, so these are all before editing. Even though it was practice, I was able to get some fairly good shots of a few moments.

Grace loved having her cousin in town!

We went to the museum on base. Ava wanted to read to us.

We went to the park right next to our house for the first time.

Playing hide and go seek, she would whistle “youwhoo” if you didn’t find her fast enough or if she got impatient searching.

It was nice to have them visit and not have to do the driving. Someday we will live much closer so there isn’t as much time in between visits!

I have another curtain project for you today. Remember the torn bed sheet?

I decided to dress up this bathroom with it.

DSCF1024 DSCF1025

See how boring and WHITE it is? Again, we don’t want to paint or cover our walls with holes.

So I bought a cheap tension rod you find in the bathroom sections.

DSCF1028

Very similar to the other curtains, I had to pin my edges down before I started sewing. This was a little different because I did need to sew all four edges, and the sheet wasn’t exactly straight so I had to work some magic to get it to look the way I wanted to.

Again, this is a great way to start sewing because it is just straight lines.

DSCF1027

It has added a lot of depth to this small bathroom. And the nice thing will be that it will be easy to wash.

DSCF1026

Sorry the quality of the phone pictures and the angles don’t really give the project justice, but trust me. It looks so much better than before.

Hope you all had a great weekend!

Sewing Solo

I had been dreading my first solo attempt at sewing. Threading the machine terrified me, so it stayed in its box for the past six months.

But a great project presented itself to ease me into working with it again.

More or less this mess was taunting me…

2013-07-16 16.32.20 2013-07-16 16.32.47

This is our spare bedroom that has been like this since I moved down in May. It was time to make something happen with it. We have one storage room off the carport, but that has turned into Tom’s “workshop” so we didn’t have anywhere else to put all this. Into the spare bedroom it went!

So we decided we would clean this up and make a partition to basically hide our storage within the second bedroom. I feel like Monica on Friends…

We bought fabric to make curtains that we could easily slide open when we need to find something. We also wanted to do bright curtains because we are not going to be painting any walls since our time here will be too short lived to worry about the tedious task of painting. It is a great way to brighten up the drab white walls without all the work!

Here is the fabric I bought. DSCF1023

I am really in love with this color combo right now! So cheerful!

We bought conduit tubes and two curtain stabilizers for the rod since it does have to go the length of the room. We decided to make all of our own stuff since actual curtain items are super pricey.

DSCF1031 DSCF1029

Tom also put a metal rod inside the conduit to stabilize it a little more since it was pretty long and sagged a little bit. (I really failed at getting pictures of this.)

We did have to cut the tube down to size so you will want to make sure you have the right tools that can cut thick plastic and metal. Tom used a hack saw.

I had to sew the top and bottom, but the sides were fine to leave as they are since we used the full length of the fabric. Since it was a straight line with no backing or anything, this was a pretty simple job. Seriously, the toughest part was threading that blasted machine. After some pouting, YouTube searching, and a very patient husband, I finally got the bobbin and thread where it needed to be. I am a little embarrassed now thinking about how long this part of the process actually took, but I conquered it!

On the top, I did leave enough to make a pocket of sorts that the rod could go through. You can see that in the above picture.

It did take out about a third of the room,  but that is OK considering we didn’t acknowledge this room existed in the past 3 months.

I am really in love with it. I sat in the rocking chair for a good 10 minutes admiring our work.

DSCF1030

Look at how much Army stuff we have! Those file cabinets are full of gear. One drawer is full of all the sets of Eye-pro (or what I call them, Army goggles). And we had more gear a few days ago. Tom turned in a car load of multicam stuff right before we packed this all back here.

DSCF1032

And now that I think I know how to sew, there may be some new projects on the horizon. I hope it doesn’t take me six months to get that thing out again!

It was really nice to get this all cleaned up. It is one of those things that just makes you feel good and accomplished! And just in time for our family to come for a visit this weekend!

The Power of the V-Neck

One of the greatest things about my husband is his wit. He says things without missing a beat. I admire this skill because half the time I think of clever things hours after they are relevant to the conversation. So I am usually left in awe in the wake of his commentary.

We recently went shopping at Old Navy to change up Tom’s normal wardrobe of t-shirts and gym shorts. I just want to make it clear this was his choice not mine. And this gem of a conversation occurred as we went through every V-neck display. (He even mistakenly went through the boys section before he realized the sizes.)

All Tom- “I love v-necks. I can wear a v-neck to church or to bed. V-necks are the gauchos for men. A step in the right direction for clothing gender equality.”

Tom proceeded to buy at least 5 different v-necks. I lost count as I carried them all.

I love his v-neck obsession!

I am always looking for new ways to store things such as Tom’s v-necks, so I had pinned these pictures ages ago hoping Tom would be able to re-create something like it.

DIY Ikea Shelves - BedDIY bed with storage!

And sure enough, he did! Thanks to Tom’s mad carpentry skills, we are no longer sleeping on the floor. Grown ups!

He built the two box units for the sides out of plywood.

SAMSUNG

Then he built the middle part to brace the bed.

Only the outside boxes needed to be stained.

SAMSUNG

We made it so we can still slide crates underneath the bed for even more storage.

SAMSUNG

We bought these simple cloth baskets at Walmart to put in the side cubby holes.

2013-07-15 15.16.54

SAMSUNG

2013-07-15 15.16.22

We still need to figure out what to do to close off the hole in the front because we were going to put a bench there, but that doesn’t leave enough room for us to walk around the room. So we are still thinking about that, but it is not a huge priority right now.

2013-07-15 15.00.49

It was an easy design since you just make the boxes with two long pieces for the length of the bed and 5 short pieces for the height you want and to sanction off the cubbies. You can make more cubbyholes  by just putting in more short pieces. Also when you are determining the height make sure you take into account how big the baskets are and how big your box springs and mattress are. We used some nicer plywood for these. This is where most of the cost went.

Depending on the size of your bed you may need to build the middle part like we did to make sure your bed doesn’t fall in the middle. Tom just used 2X4s to build the brace as sturdy as possible. This doesn’t need to look fancy since it is never seen.

We have a nail gun which made this job much easier. I am not sure I would want to attempt this with basic nails and hammers.

Now we just need to work on the headboard to finish the room off.

I love our bed!

I hope you all had a great start to the week!

Fight For It

It’s a Monday after a holiday weekend. So like most, I sit here reflecting on the amazing down time that I had and dream that it wasn’t over. My newsfeed this morning was littered with all the witty “I hate Mondays” commentary.

So to recap our 4th of July.

It was not full of BBQ, beer, red/white/blue ribbons, or personal fireworks.

It was full of rain…all weekend long.

Don’t feel sad; we managed to make the most of it. We had a great relaxing weekend being free of work and responsibilities. And seriously what is better than actually being able to sleep in and be lazy on wet and rainy days?

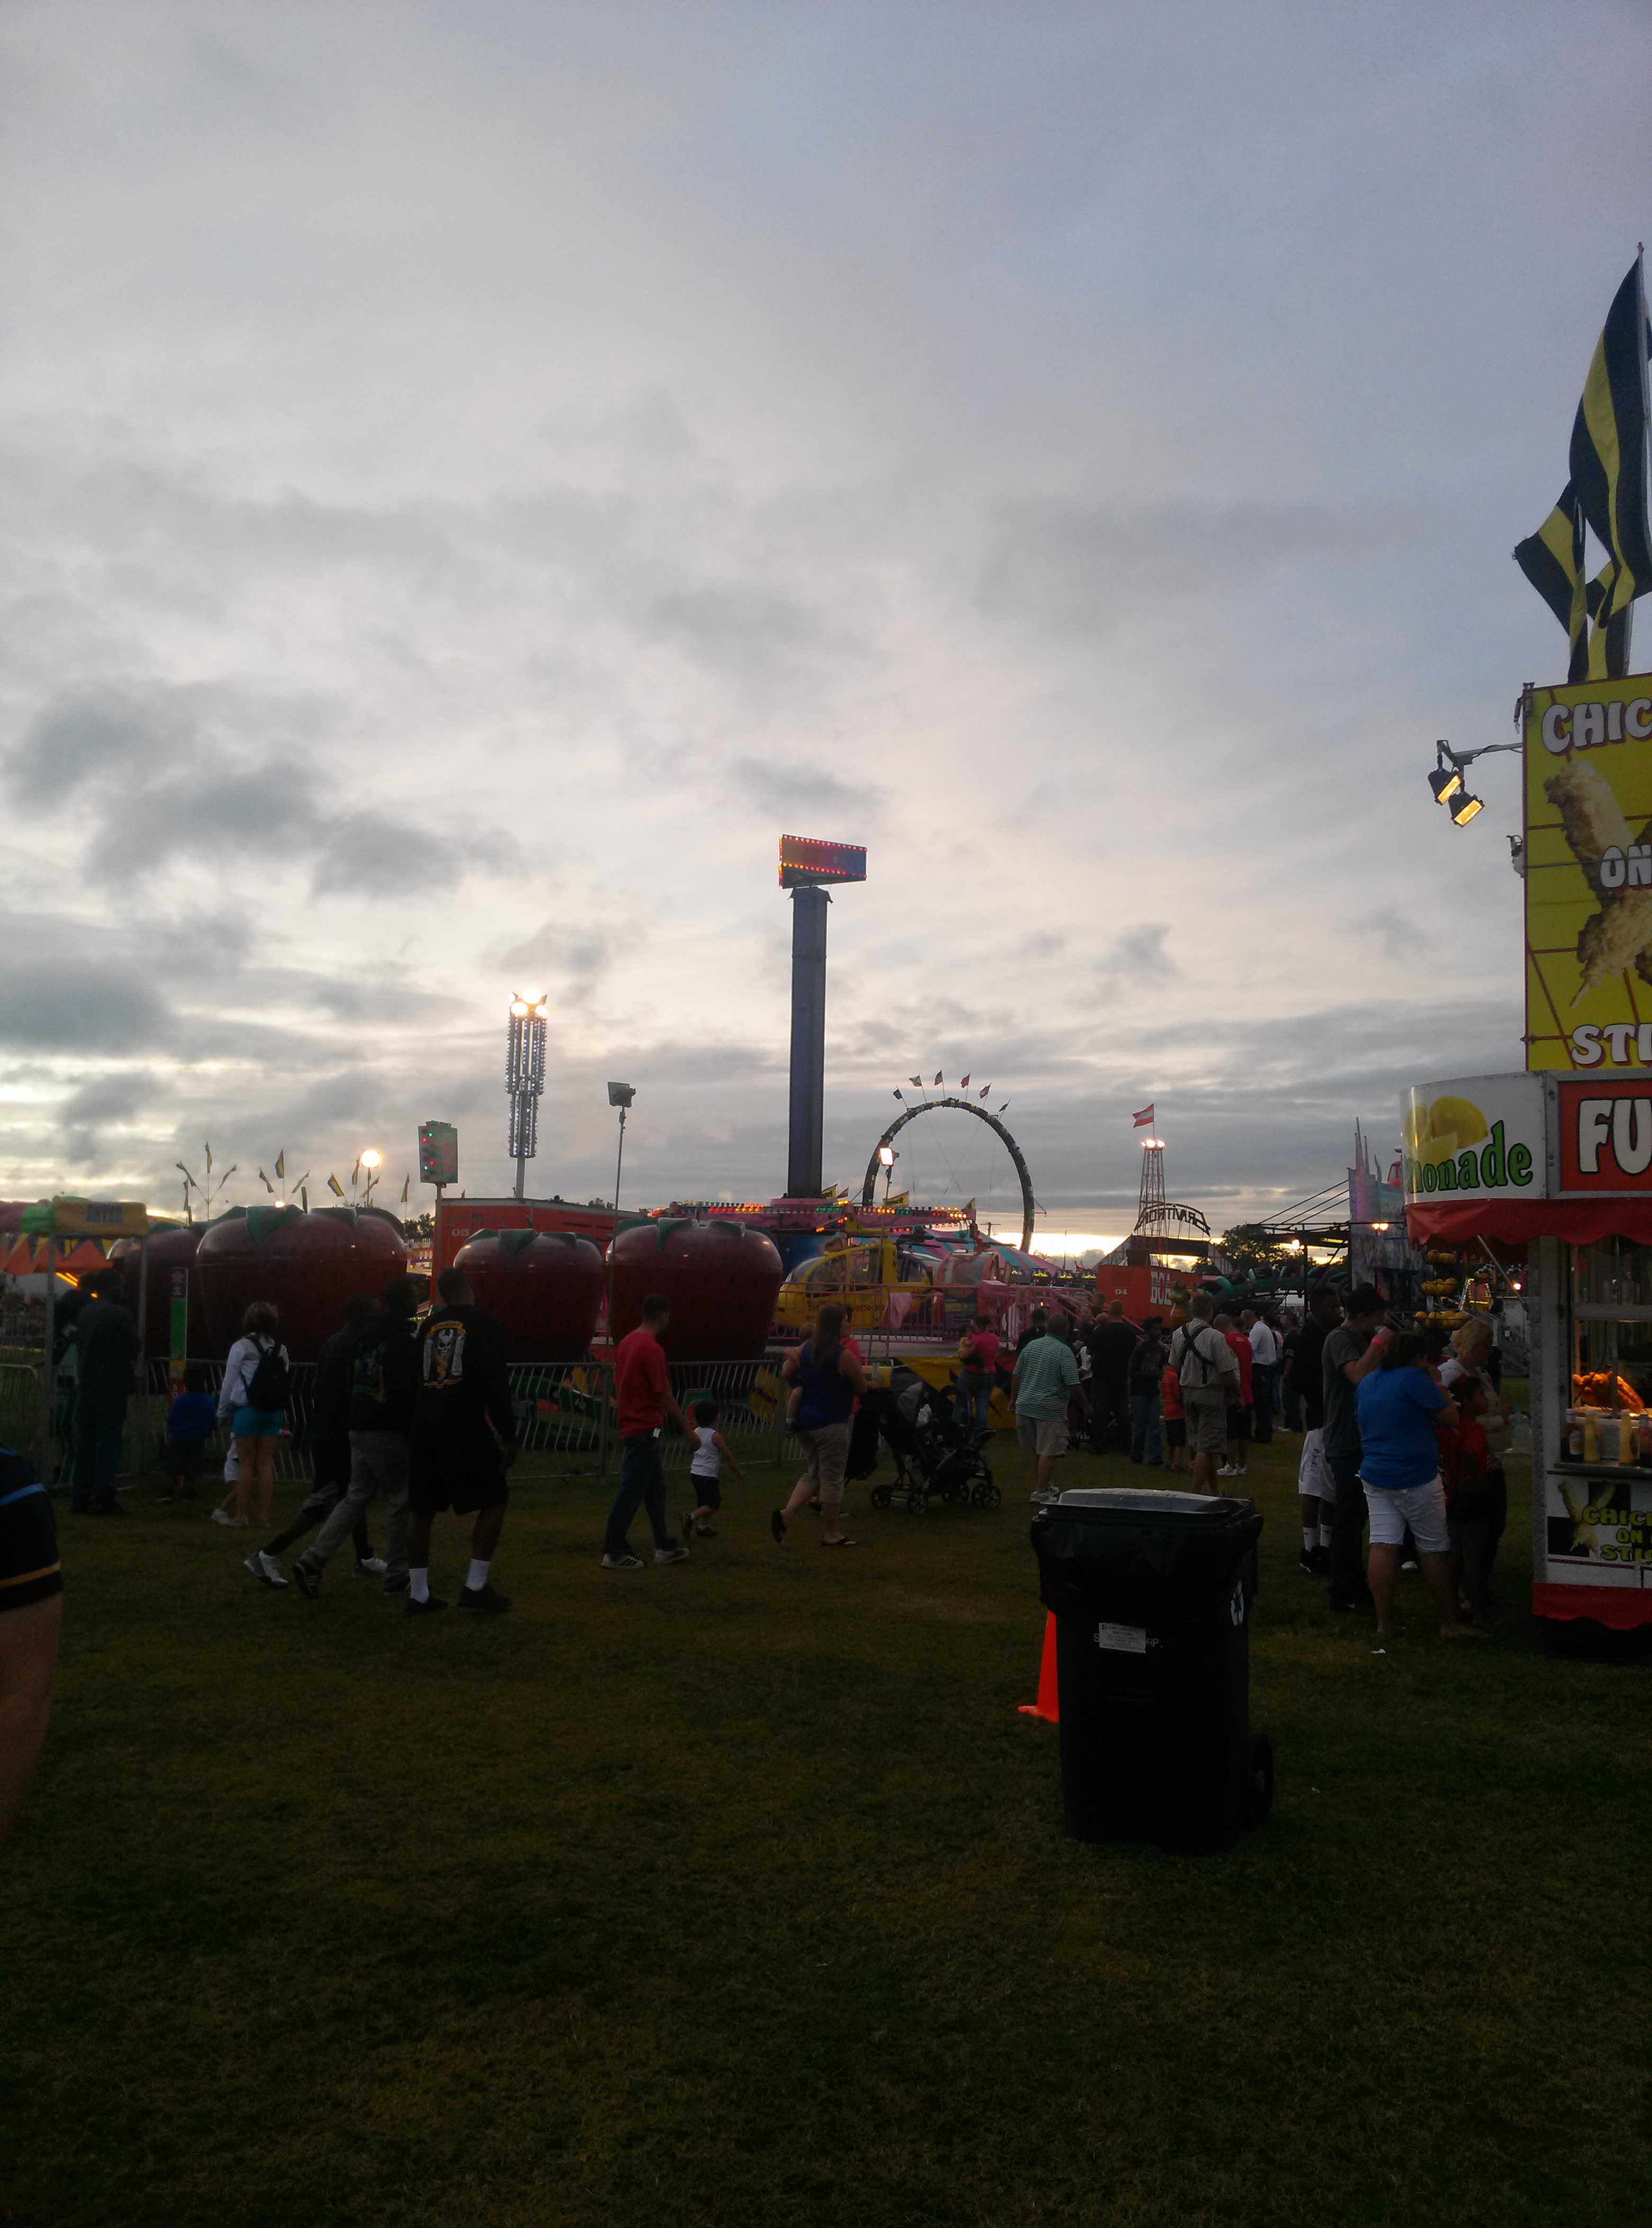
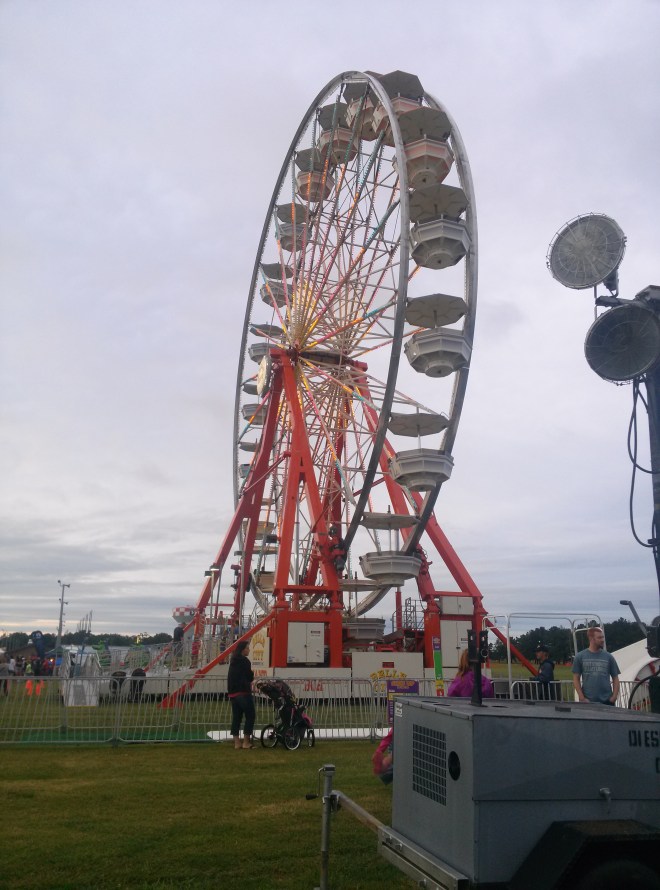
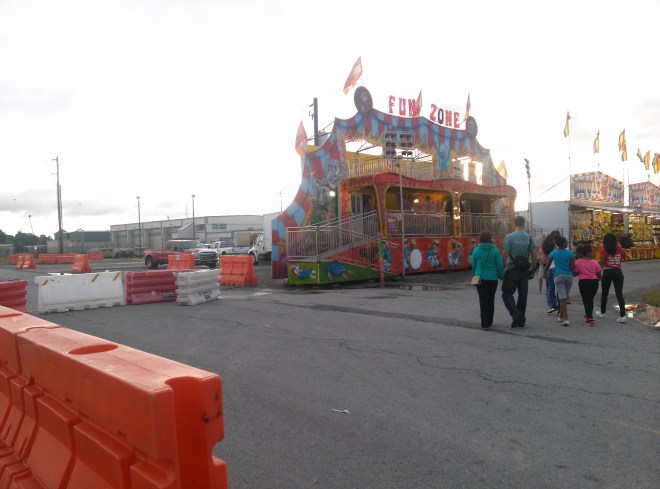
Fort Campbell had a 4 day long carnival event, which we did attend on the 4th in the brief parting of the clouds before they canceled the firework show. It was really cool to see all the families tredge through the mud to celebrate what our families have gone through to ensure freedom for our nation.

2013-07-04 19.25.39

We did not ride any rides because after working at an amusement park for 6 years (this is where Tom and I met btw), I am pretty skeptical of any ride that can be packaged into a trailer as a traveling show. And don’t get me started on my nightmares of Ferris wheels. Plus it cost money, and we were being cheap.

2013-07-04 19.27.16 2013-07-04 19.27.39

I also worked games for 2 years, so I cannot wait until we have kids so we can win them useless toys. After working 8 hour shifts for 2 summers, you learn a few tricks of the trade. We just don’t have a need for the game stuff now.

2013-07-04 19.35.41

We were not too cheap however for my ICEE obsession. I L.O.V.E ICEES.

2013-07-04 19.29.30

We love that we are lucky to be together to celebrate our independence! I think about all those families who cannot say the same. (Special shout out to our buddy Andrew Martin and his lovely family! We can’t wait to celebrate with you when you get home! And also to the Landis family, you all are in my thoughts and prayers regularly!)

2013-07-04 19.39.38

The night of the fourth we ended up watching from our backyard some of our neighbors shoot off their own fireworks.

Grace did not seem to mind her first firework display.

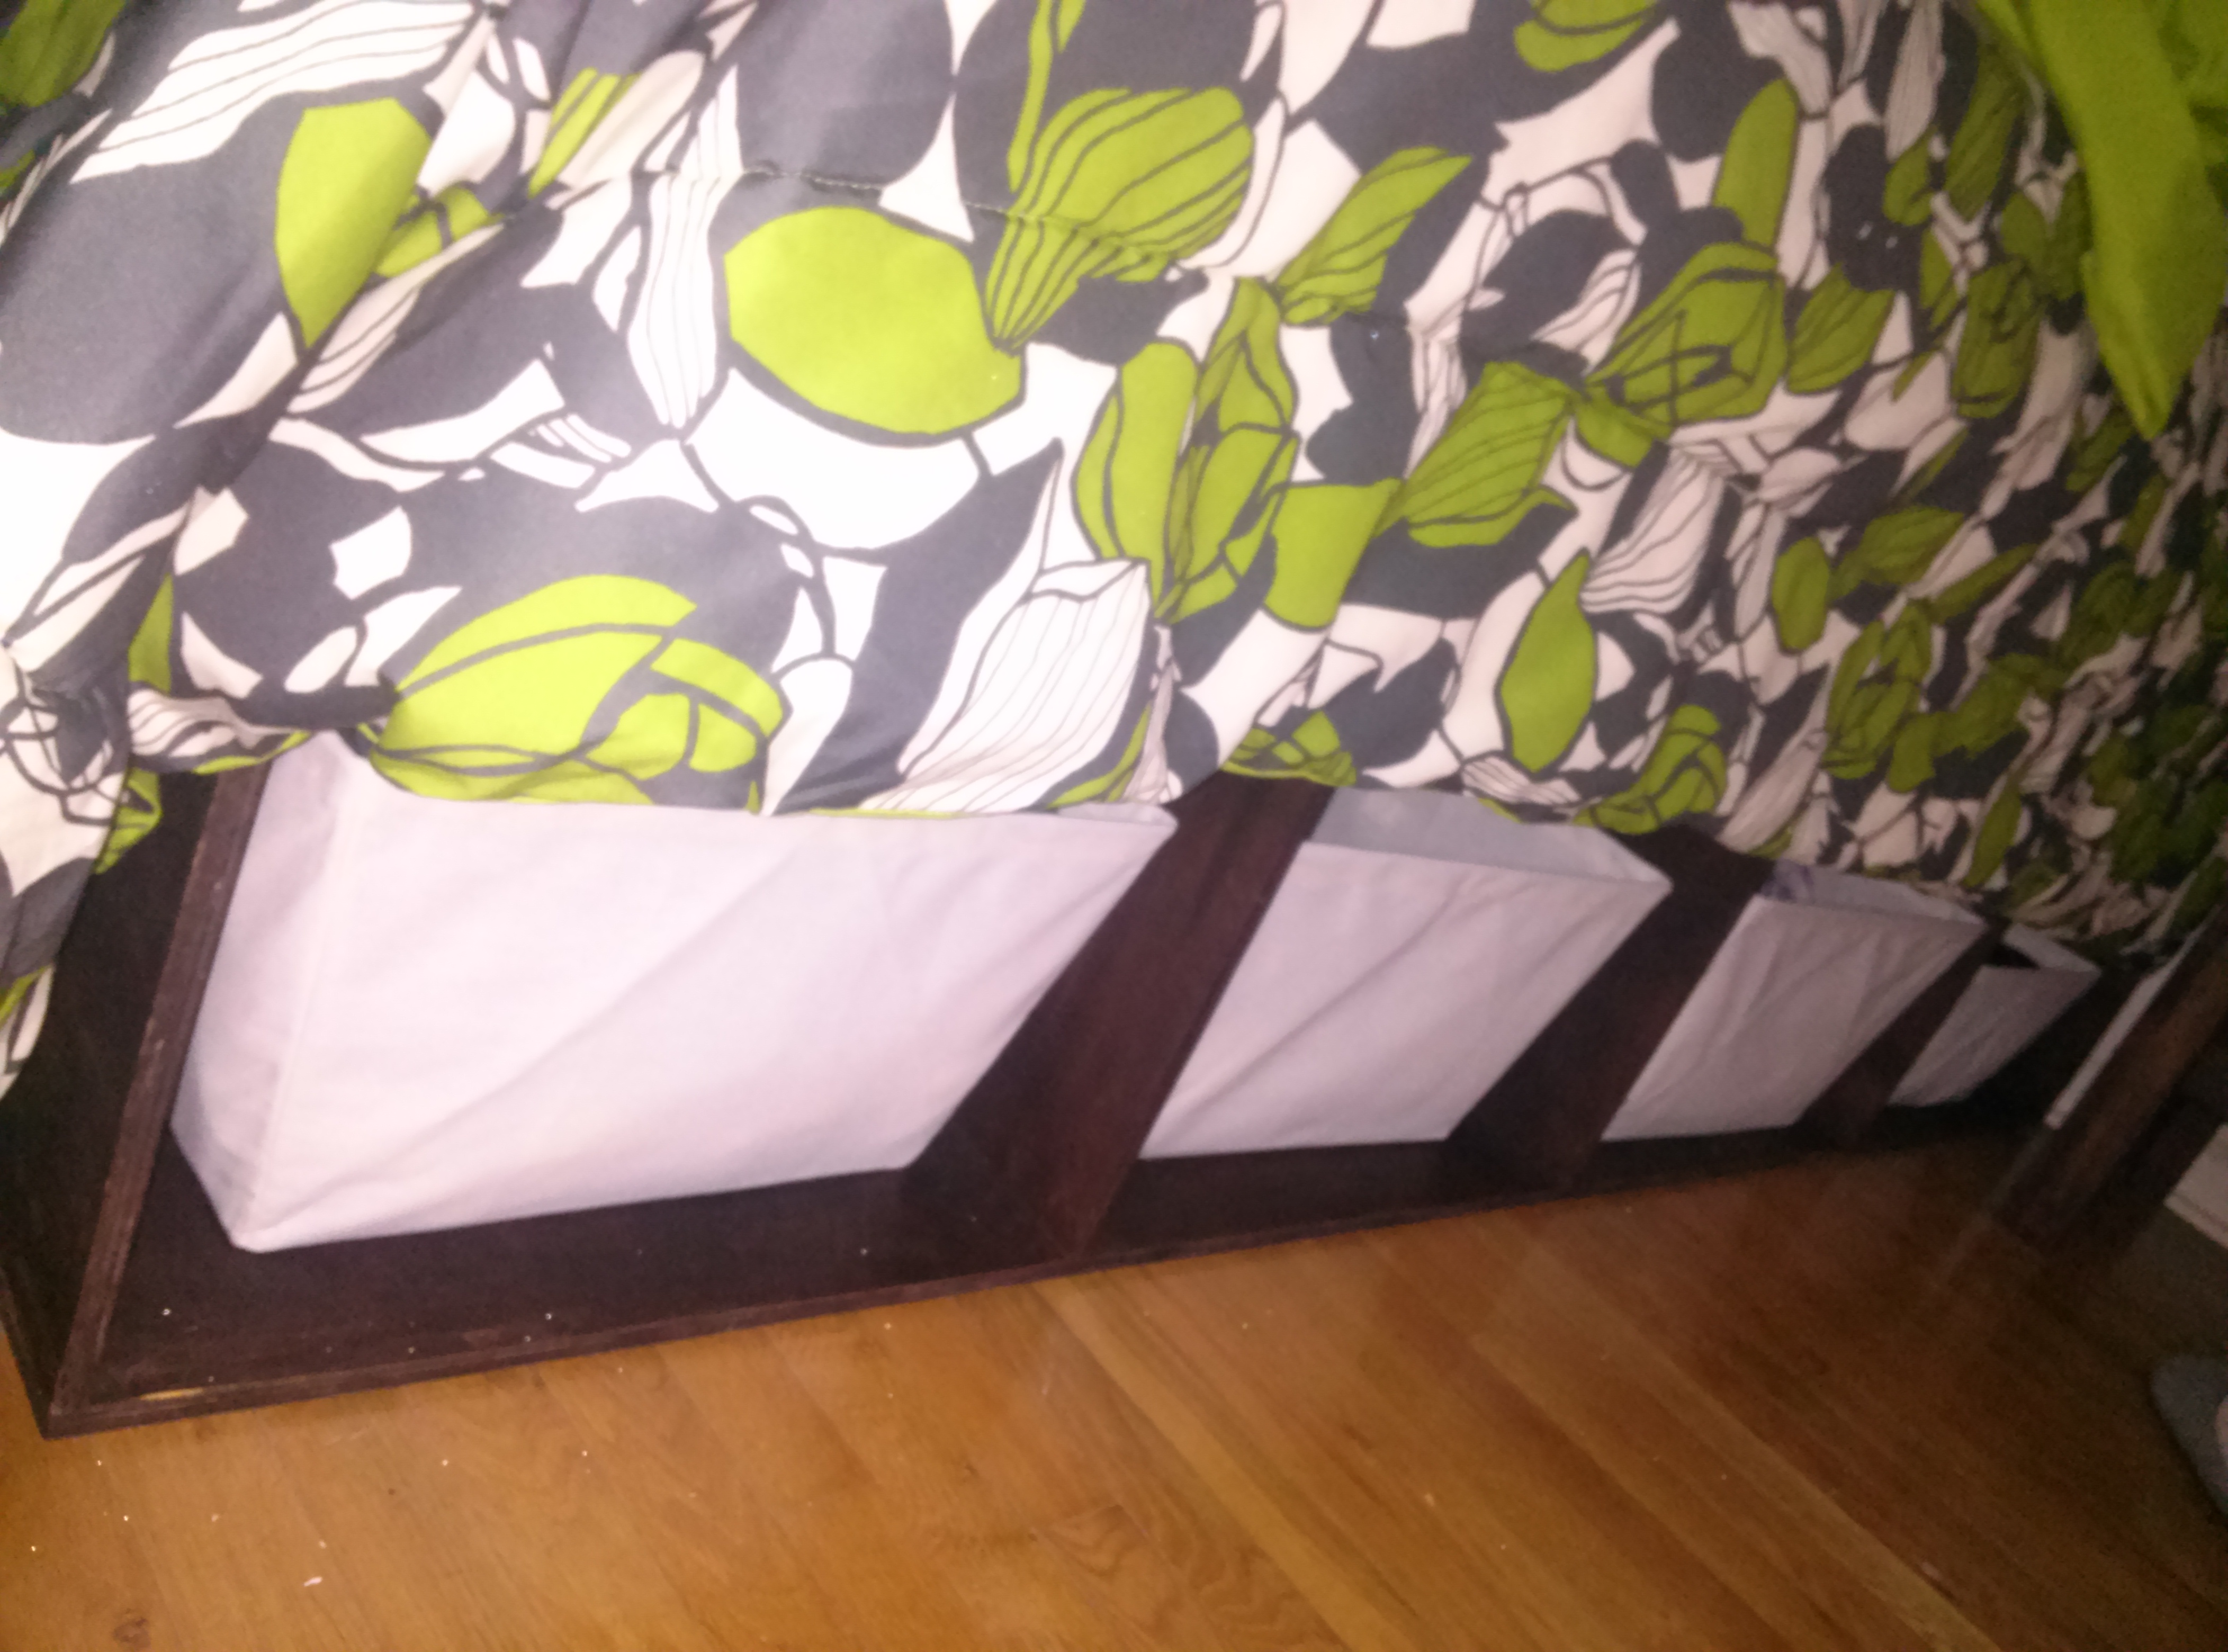
And yes we made an outside bed for Grace to be comfortable watching the show.

2013-07-04 21.02.27

They had rescheduled the fireworks for Friday. But it rained all evening so we didn’t really want to pack up to go across the base. So we watched in the rain from a parking lot right by our house in our Jeep. Nothing more American than being barefoot in a mud covered Jeep watching fireworks I guess.

All in all it was a good holiday for us, and we cannot forget the sacrifices that are made to grant the freedoms we hold so dear.

Talking with my husband about how the fireworks sounded like war and his FB statuses for the day gave me a lot to reflect on, and I hope they do for you too.

“Today and every day, ask yourself two questions. Who sacrificed their life so that I could have mine? What am I doing to make myself worthy of that sacrifice?”

“Remember that rights aren’t something you are entitled to. Rights are something we have to fight for. Nothing in this world is free.”

Nothing like a national holiday to make you think about your priorities eh?

It’s ironic  (don’t you think) that those who give up so much of their own freedoms are the ones that are making sure you and I have ours?

Now on to our home improvement project of the week.

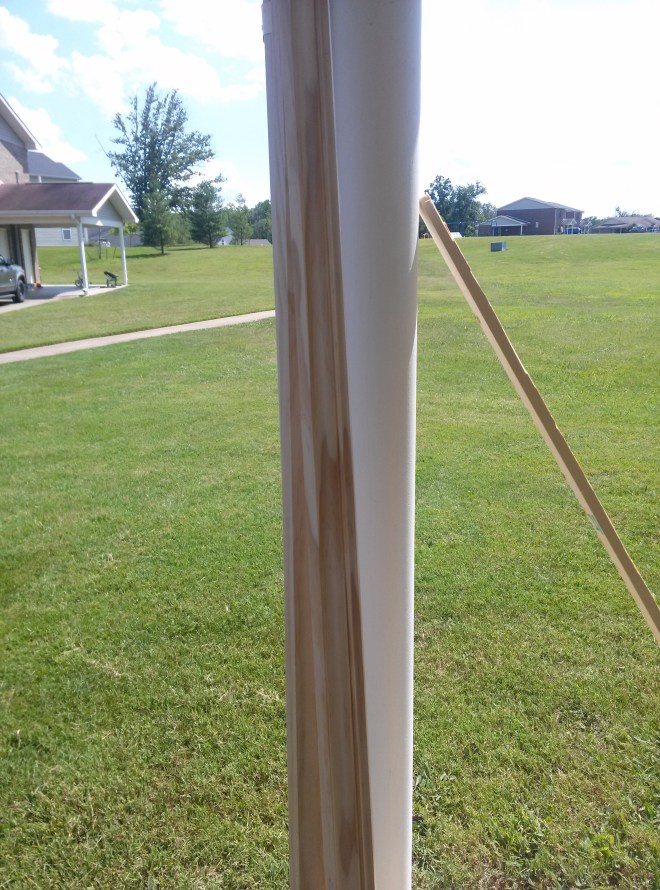
We created these shelves so that we could have some flexibility on changing the deco in our house without the hassle of measuring and putting in new holes in the wall. Since we live in on-base housing, we are trying to leave as little damage as possible.

Shelves are pretty expensive if you want to buy more than one of these at the store, and you cannot get them in a very long size. I think the cheapest we were able to find was like $30ish bucks for one that was like a foot long. So Tom volunteered to make them for us. For 8 shelves, it was around $75 for us doing it this way. (If you are able to find ones cheaper than this, share with the world please!)

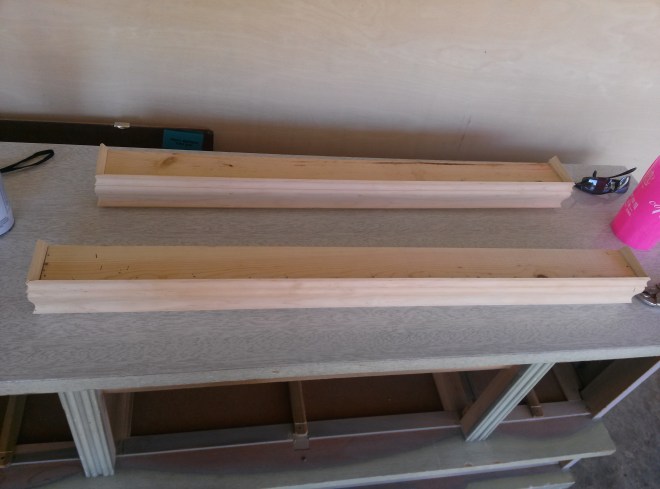
Basically you pick the size shelf you want from the wood selection. We chose a couple different sizes because of the what we had planned to put on the shelf, so we had 1X2s and 1X3s.

2013-06-29 15.20.20

Then we picked out simple decorative molding to make the face of the shelf. You can make it relatively inexpensive depending on the molding you pick, or just not getting molding and just using the base wood only.

2013-06-29 15.20.27

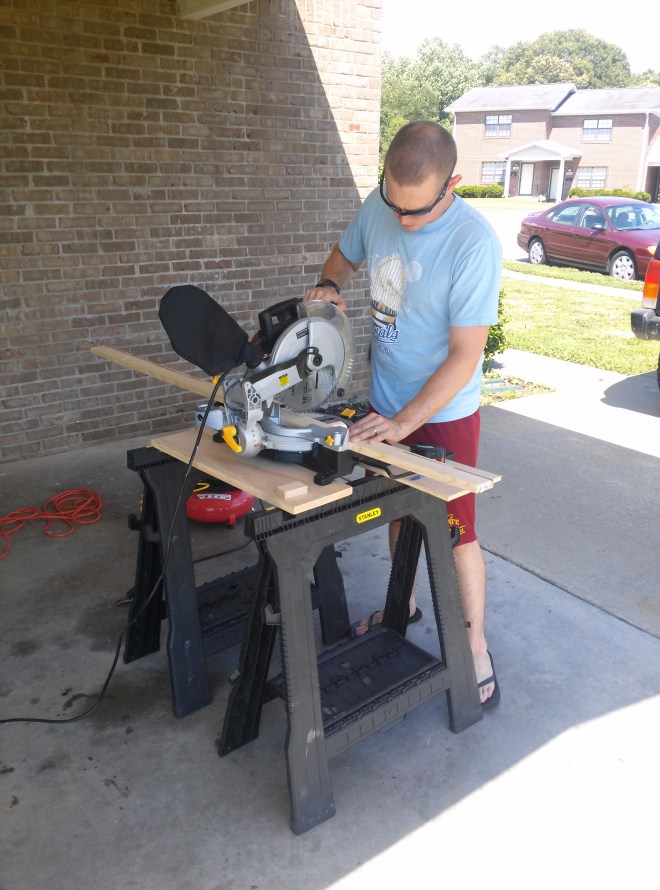
Tom did all the handiwork. It seems pretty simple from watching him. He made all 8 of them in an afternoon.

2013-06-29 15.20.49

This is before he stained them all.

2013-06-29 17.05.52

Then he added wall hangers/hooks on the back to make them more secure on the wall.

2013-07-01 17.26.08

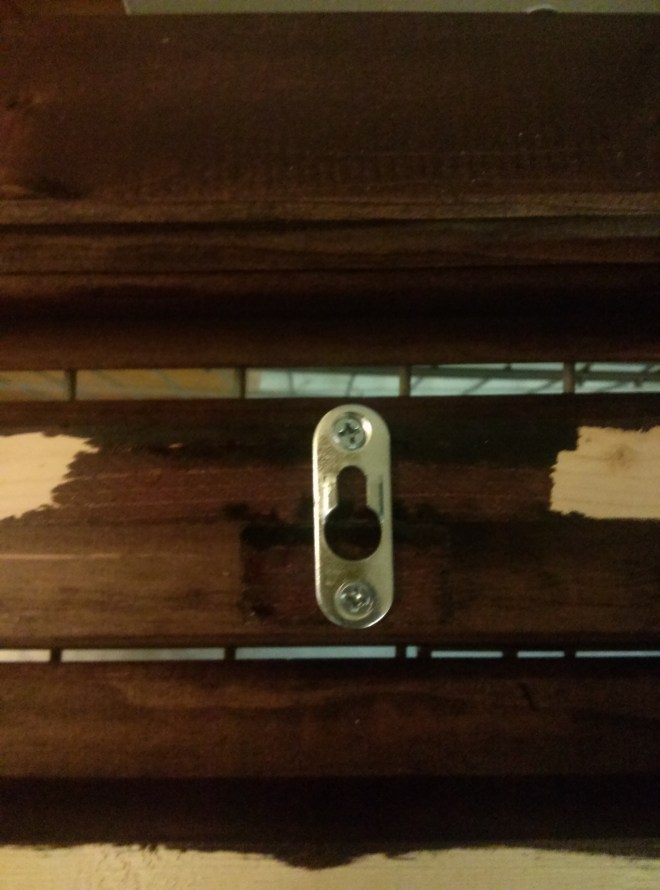
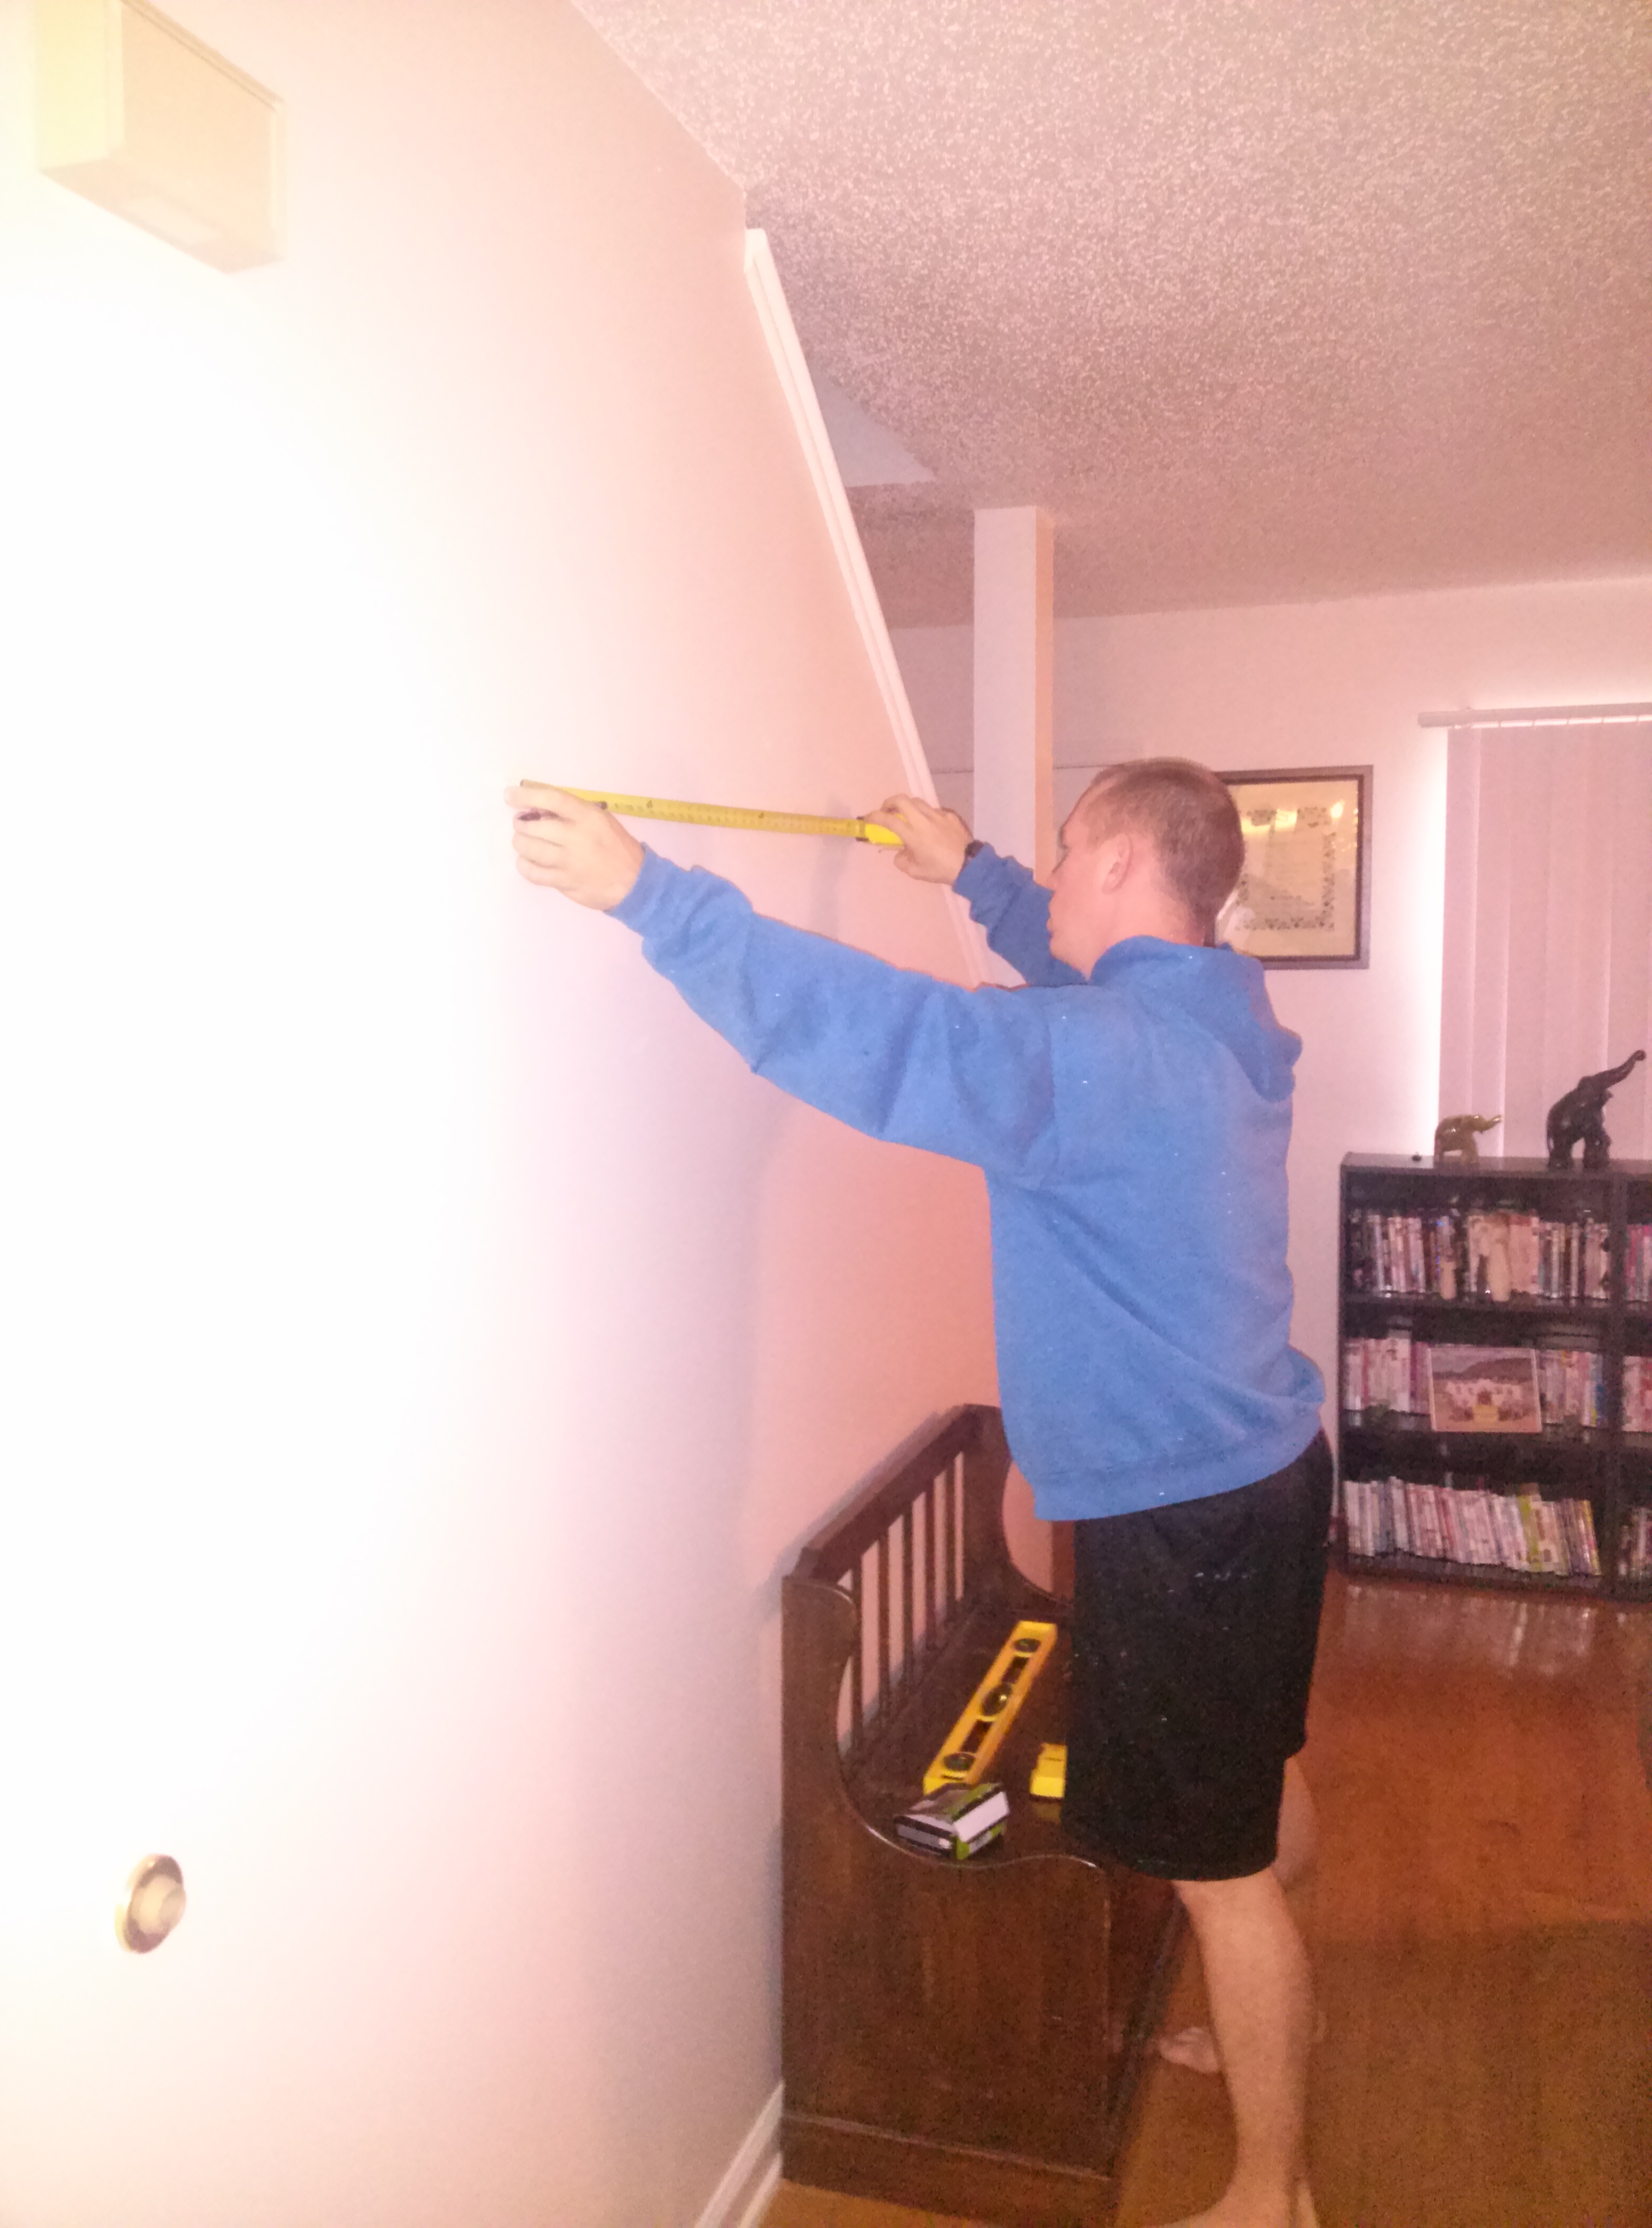
Then was the long process of measuring out the locations on the wall. This included a stud finder, tape measure, level, T-square, and Tom’s persistence for perfection.

2013-07-01 17.35.35

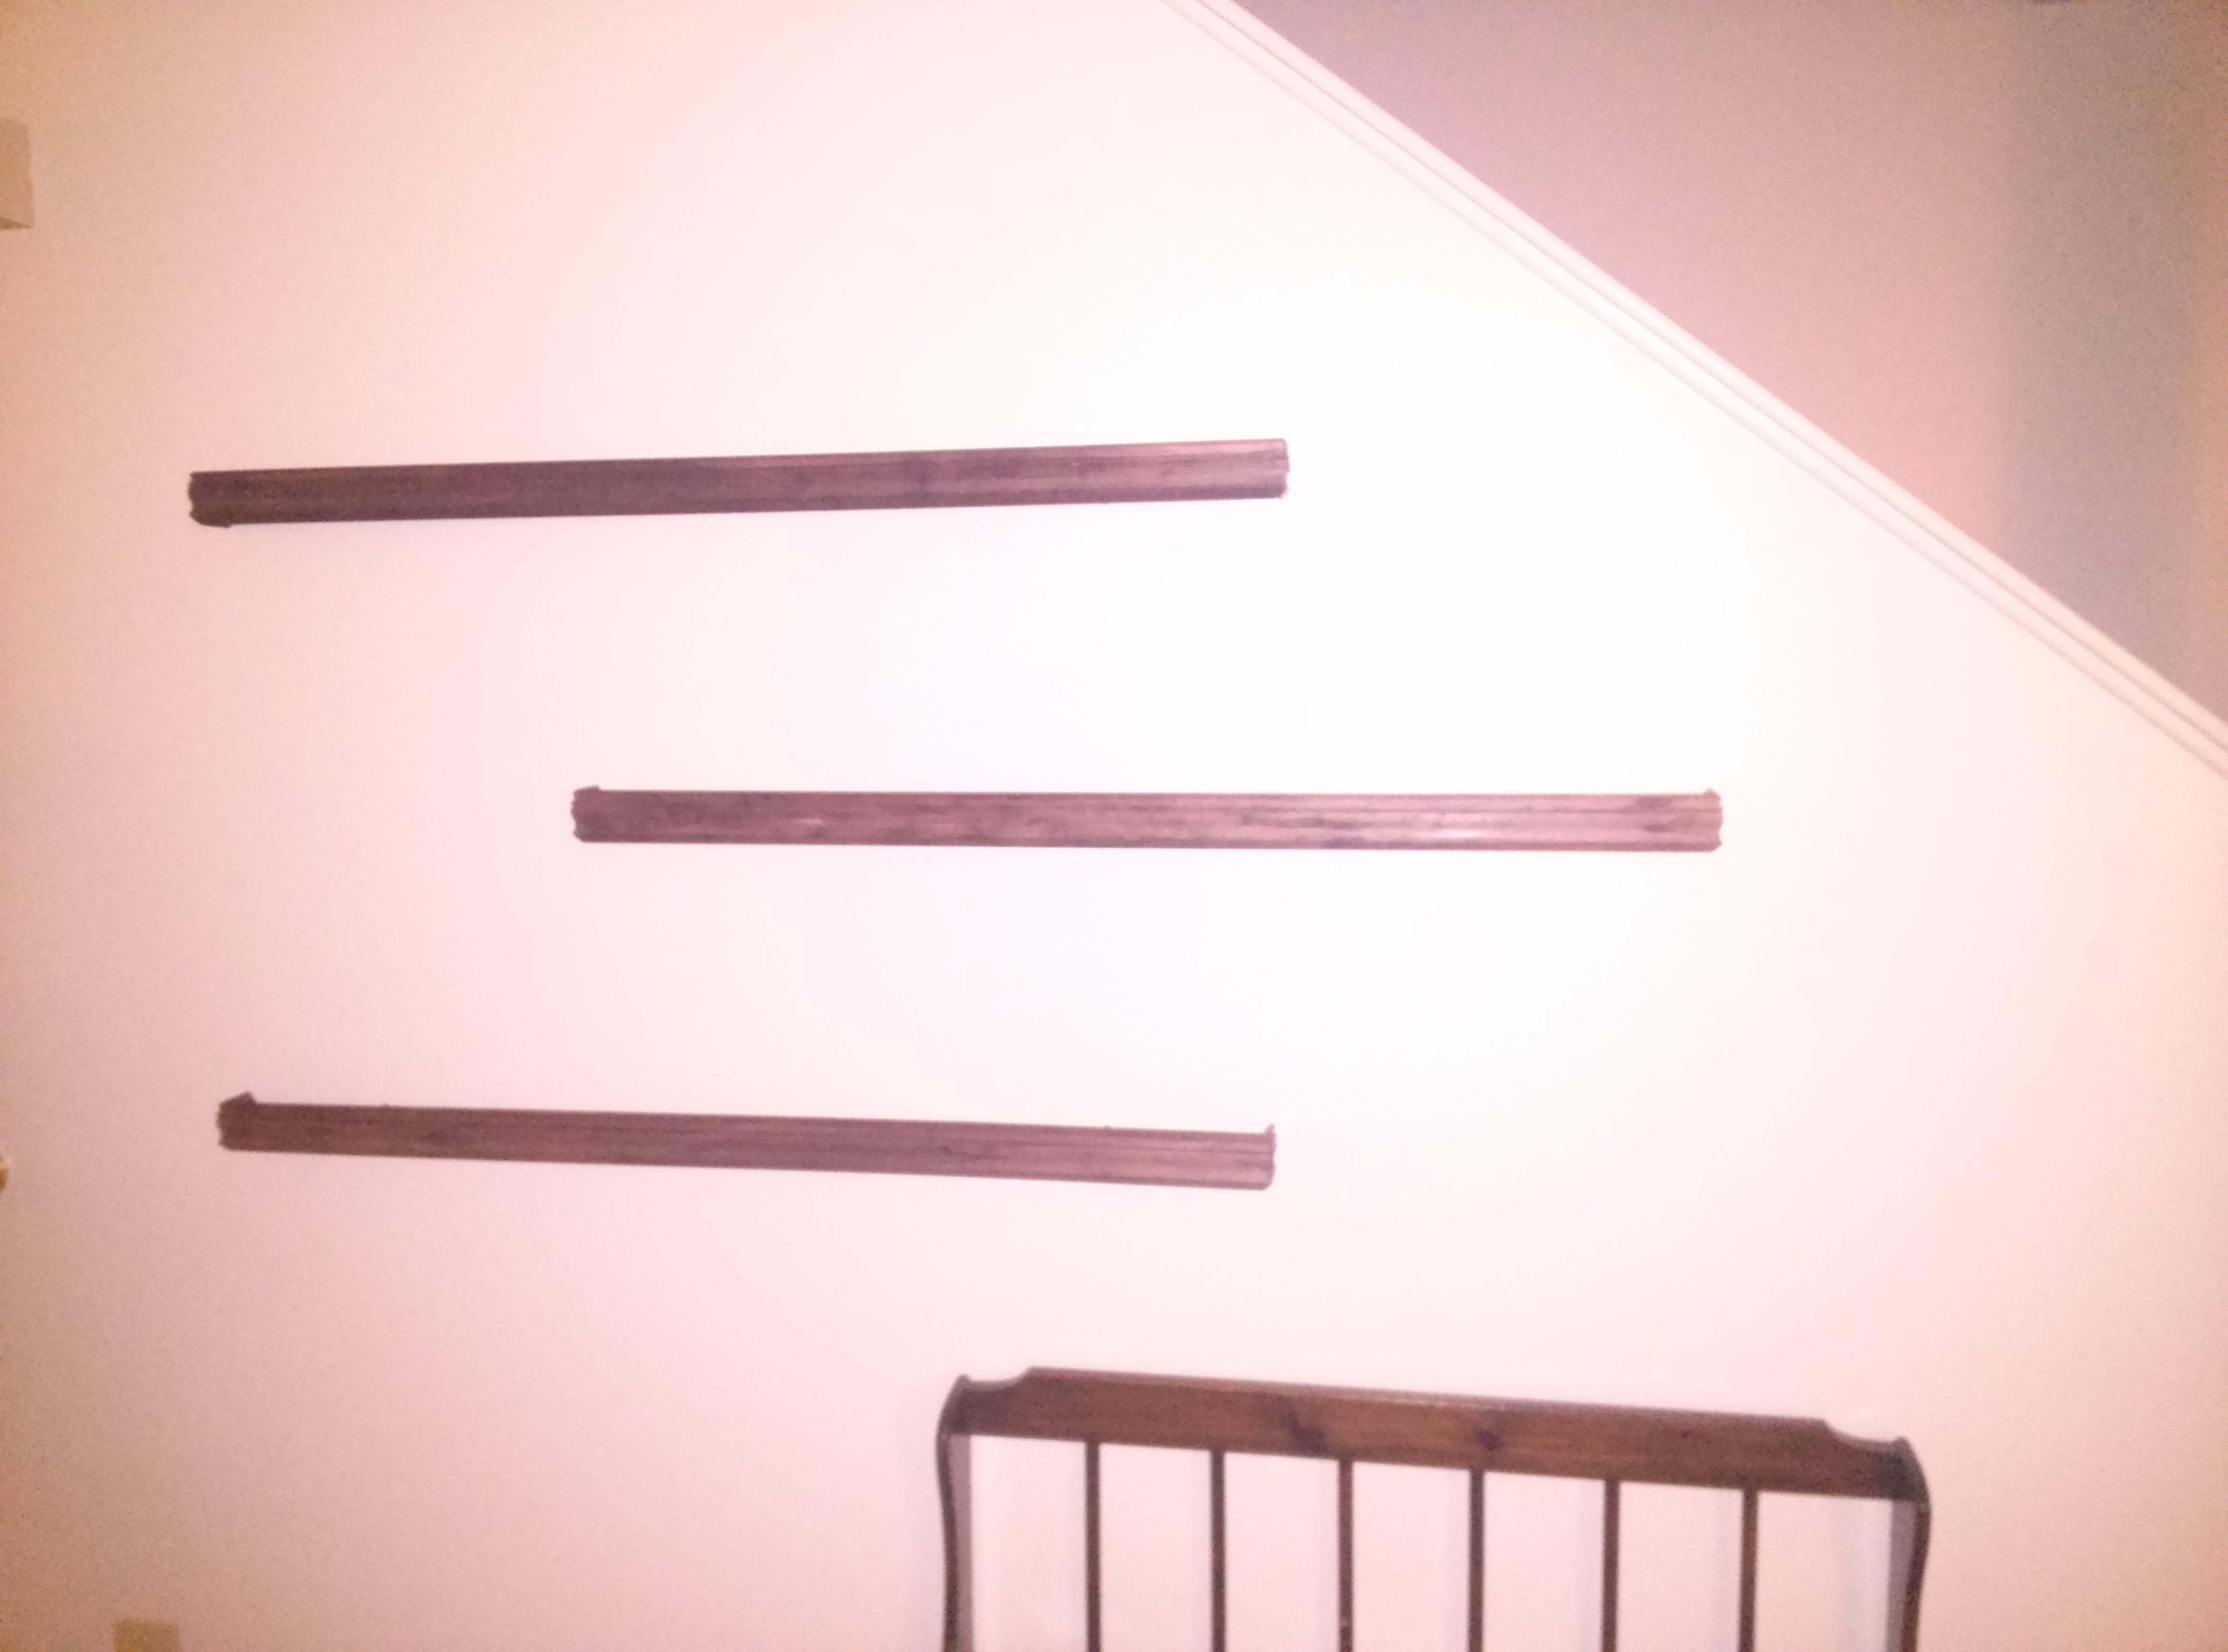
Here they are empty.

2013-07-01 18.03.18

And here is our new photo wall. I am working on getting some new photos, and it will be so easy to add. I can just move them around until I feel like I have the layout I like. Until the next day when I want to move them around again.

2013-07-08 16.42.10

2013-07-08 16.44.20

And then this is our photography wall. We are really into collecting old camera gear and wanted a way to display it!

2013-07-08 17.11.55

They turned out fabulous. They really make the room complete now! Pardon my crocheting mess in the corner…

2013-07-08 17.10.21

I hope you all enjoyed your Monday as much as one can after a freedom celebration weekend!