Crochet Clamshell Blanket

I finally have a new project to share! I know I have said it before, but I love making blankets for presents.

This particular project was for a graduate student I worked with at Iowa State. She just recently finished her Master’s program, and I wanted to congratulate her graduation.

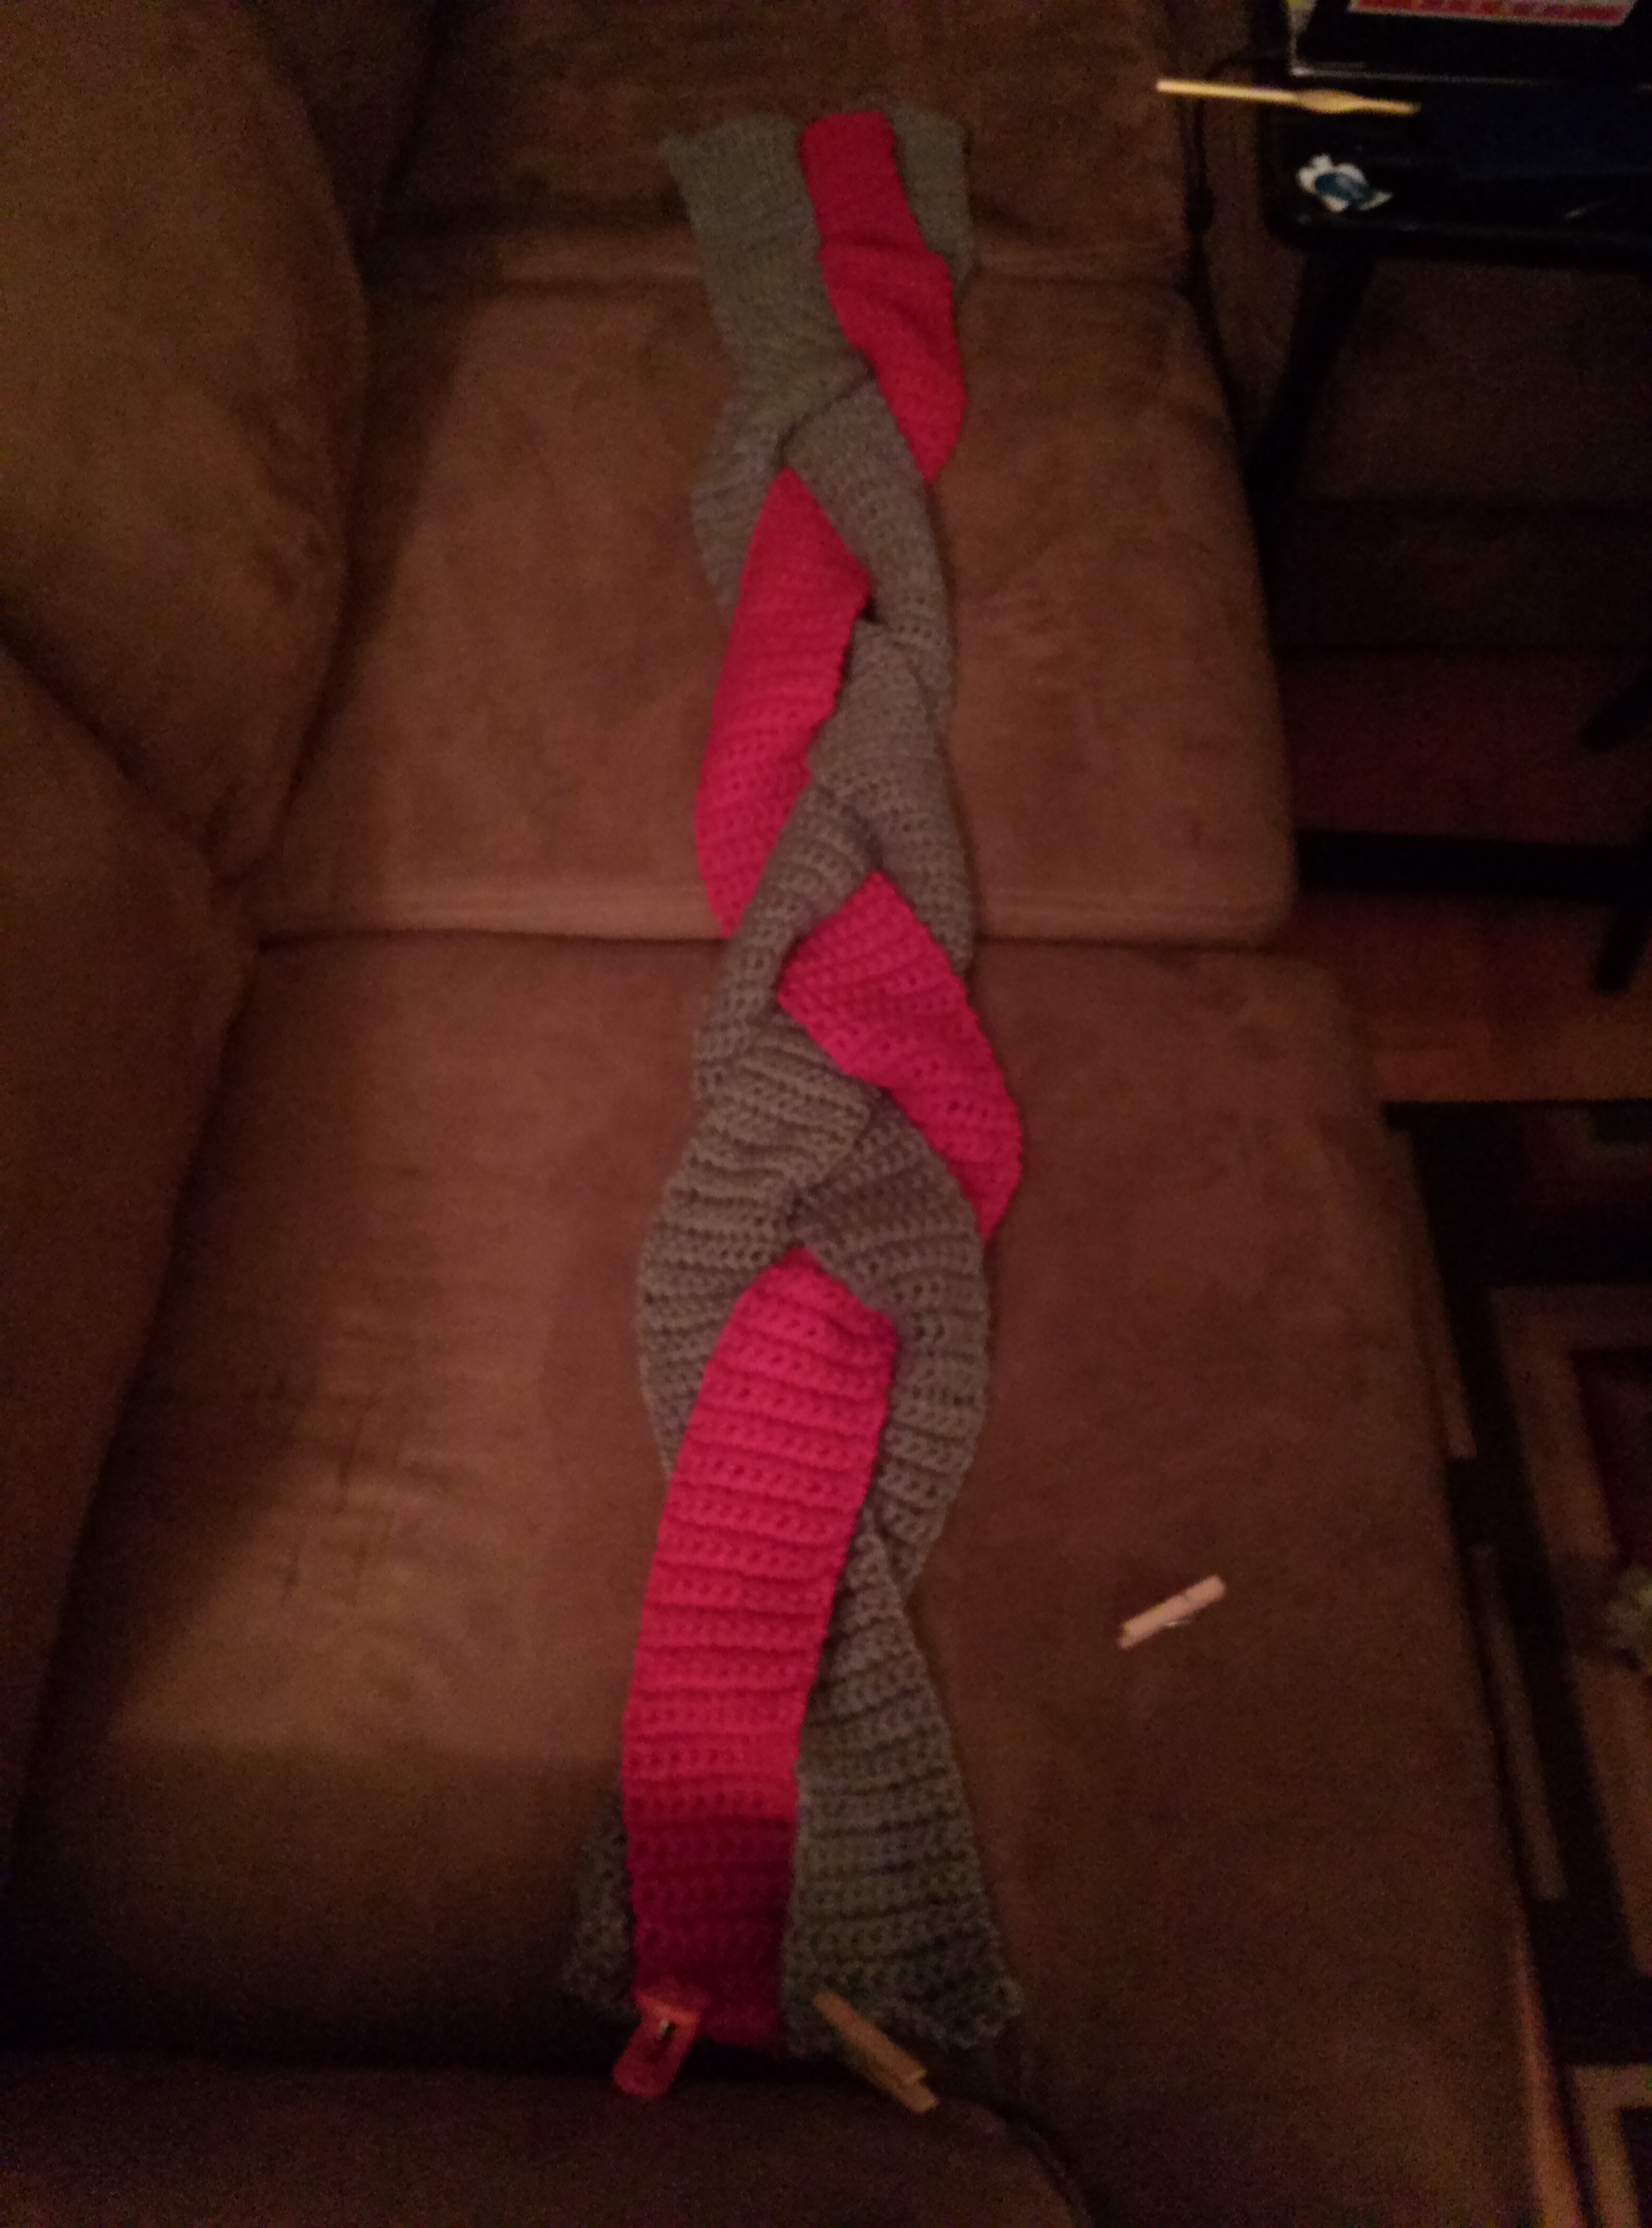
I chose Iowa State colors for her to commemorate her time in Ames. Happy times Angie!

Yellow Yarn

I bought these large skeins at Walmart in red, yellow, and white. I cannot remember how many skeins I used, but I know I had to make at least two different trips because I ran out.

I used an N (9.00mm) hook.

I followed this pattern here. She does an excellent job with her instructions. It is probably one of the best written instructions I have used.

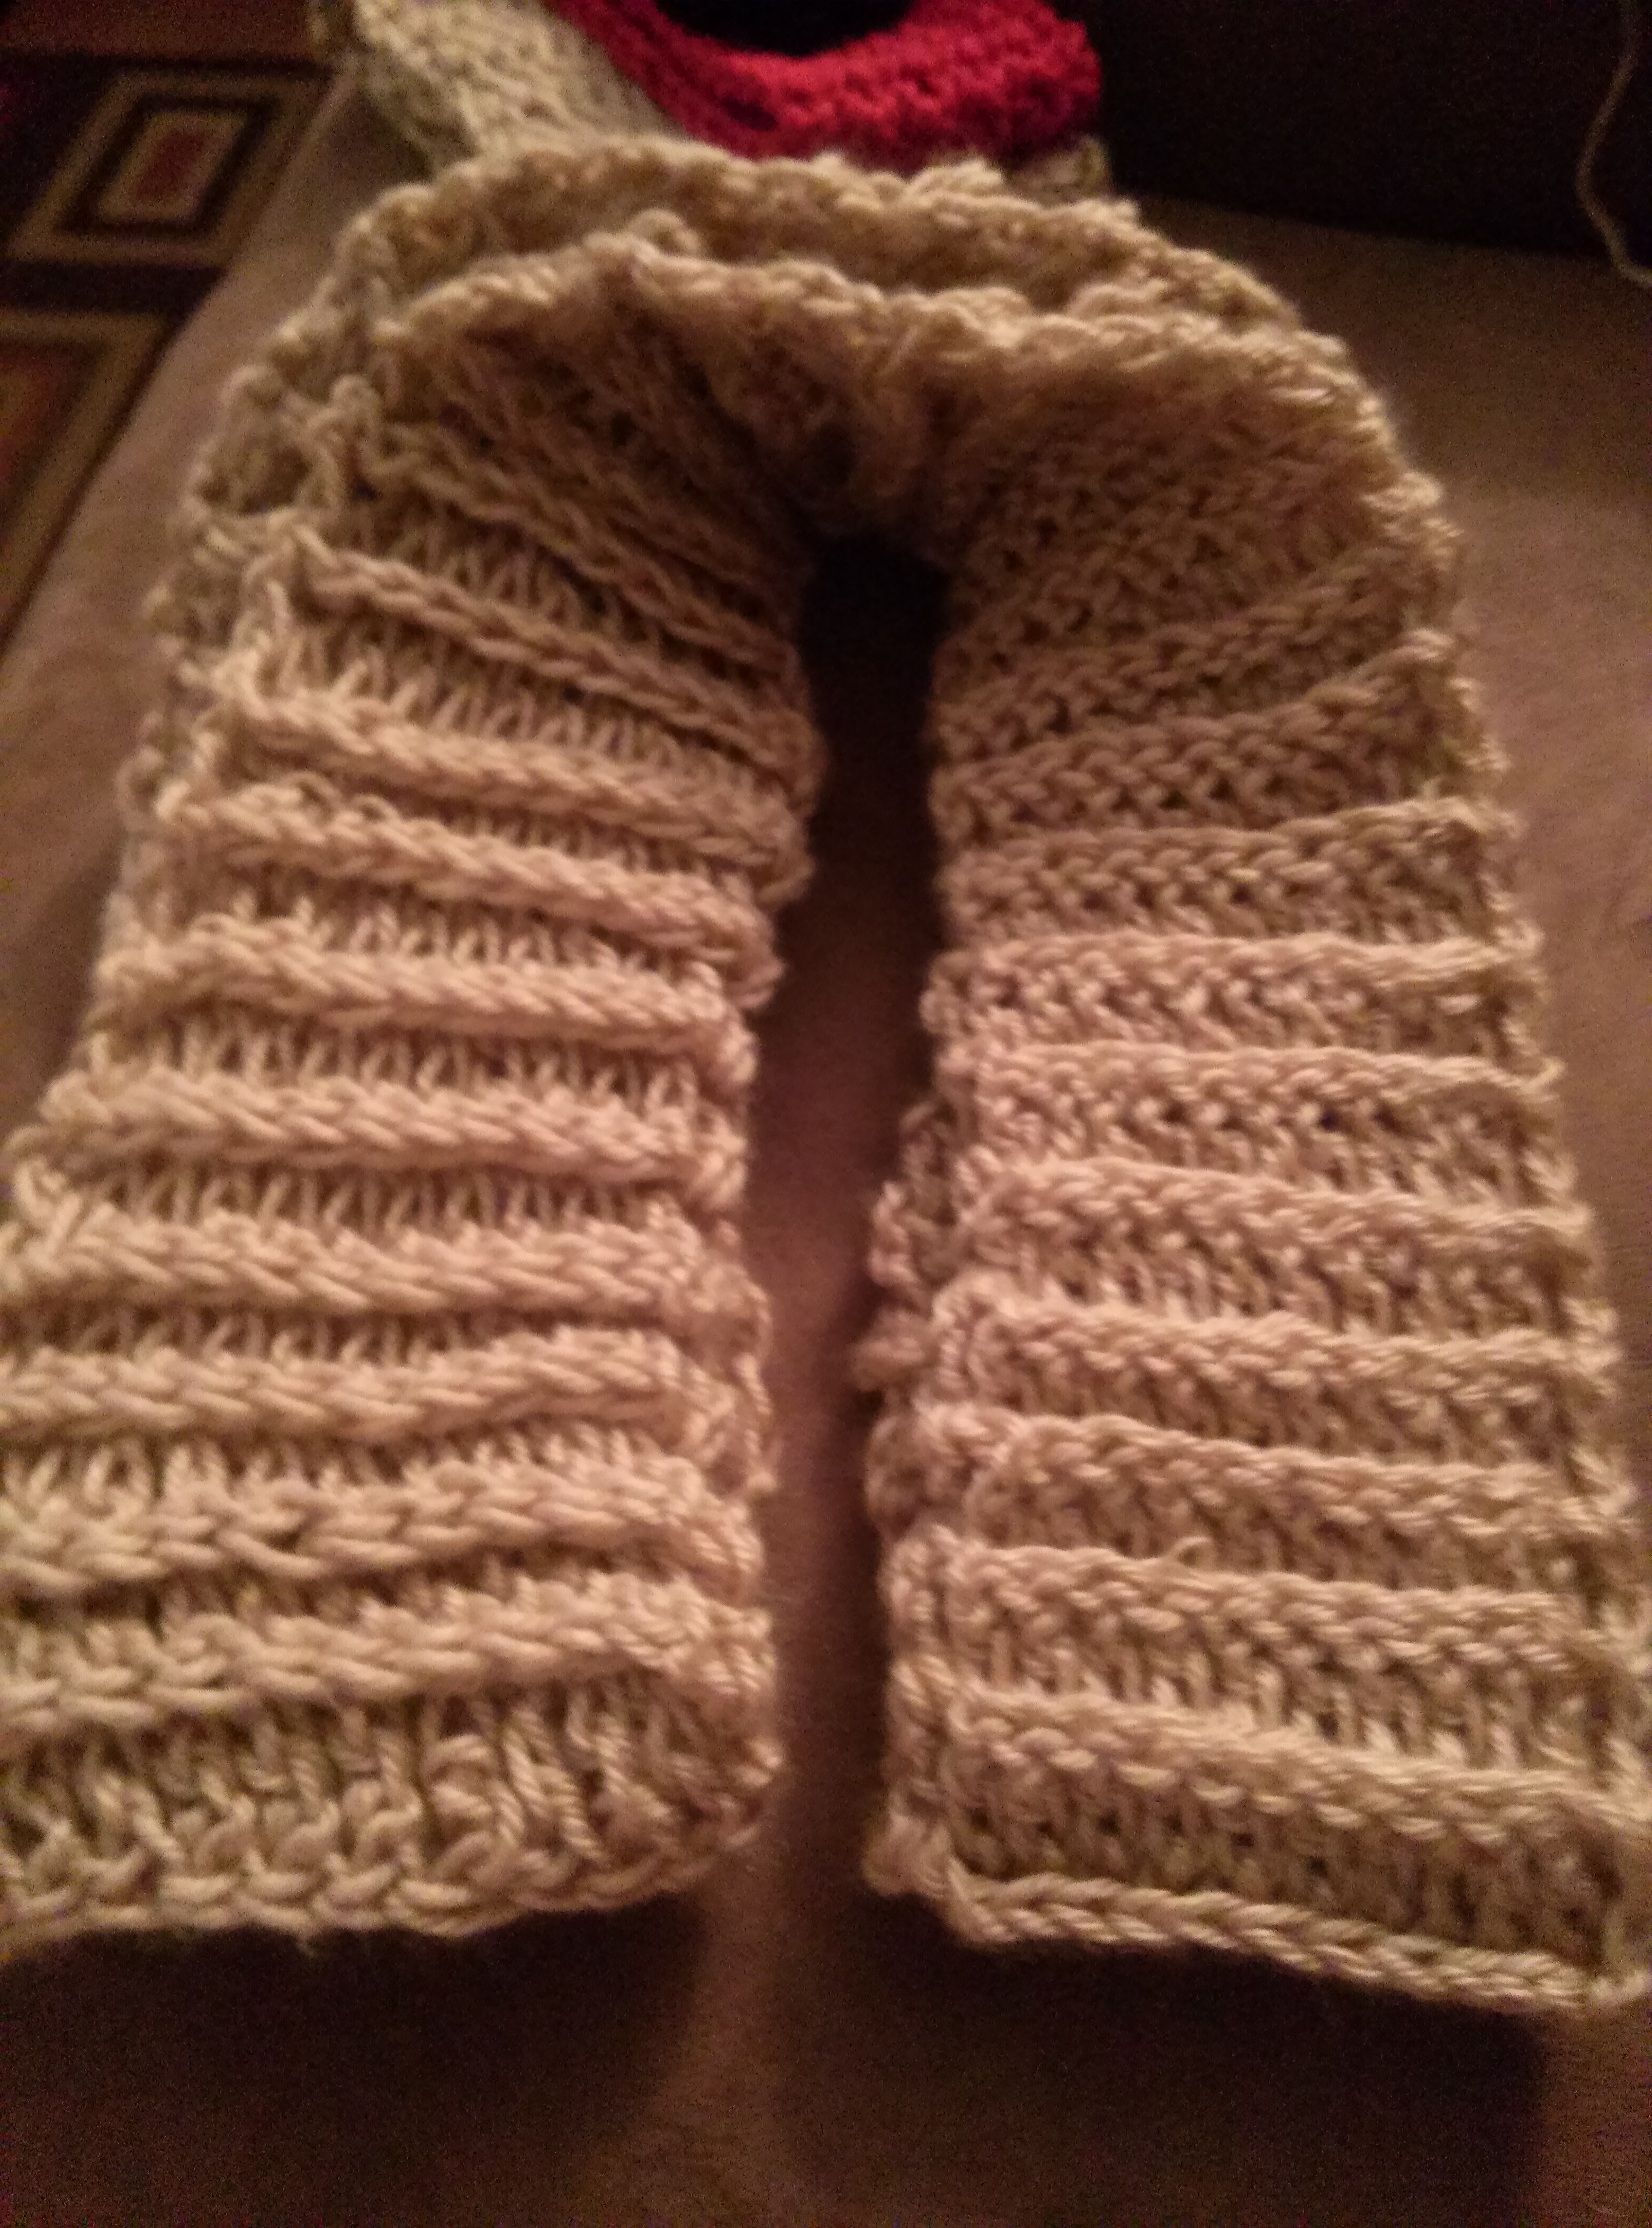
I will say this was a tricky pattern at first. You work in a three row pattern, with each row in that triple being a different stitch combo. The first dozen rows were a pain in the rear end until I finally got a hang of the pattern. I think a lot of the trickiness at the beginning is just figuring out the varying stitches and how to hold it with not much blanket there.

I believe it took me about a month and a half to finish this.

Clamshell Crochet

In the end, the pattern looks really lovely.

Clamshell Crochet

It is a square shaped blanket that is about the width of a queen-sized mattress.

Clamshell Crochet

What do you think?

I have two more blankets I need to whip out here in the next two months, so I better get cracking!

Do you have any good crochet patterns to suggest?

Crochet Wavey Baby Blanket

I started off with blankets when I learned how to crochet. I still remember that peach yarn that my dad taught me how to do rows on when I was 7 years old. That was surely the ugliest blanket ever because of all the big holes of uneven stitches and rounded bumps on the end that were supposed to be my turns. But you have to start somewhere.

Since I have been doing blankets for 21 years now, they are my go-to gifts. I love making blankets for people.

Recently, some friends of ours had a baby boy come into the world. I wanted to give them something from Aunt Steph and Uncle Tom.

I found this pattern to do a wave effect.

I used this yarn. I did used the same number of skeins that she suggested in the pattern.

Wave Crochet Baby Blanket

I love this brand for baby stuff, especially if you just need solid colors.

I used a 6.5 (K) hook instead of what she suggested. This is my go-to hook size for pretty much everything.

The first couple rows were obnoxious, but they usually are while you are trying to get things started. And it certainly didn’t look like waves until about 5 color swaps in.

Wave Crochet Baby Blanket

Once I got into a groove it moved really fast. I was able to complete this in a couple weeks. It is a little big for a new baby, but I tend to go big on blankets unintentionally. However, I want to put out there that I followed her pattern! (Ok maybe not to a tee since I used a different hook, but it was the same amount of yarn…) At least a baby can grow into it!

Wave Crochet Baby Blanket

I really love this pattern. It is so fun! And the colors turned out great together!

IMG_9926

I have so many blankets I need to finish in the upcoming months. I have two in progress right now, unfortunately they are both patterns that I get bored easily with so I have to switch back and forth. I better get cracking!

I also forgot to mention that I did my first ever guest post this last weekend! You can read here to see what I wrote about my favorite chick flicks! Thanks to Chelsea from Anchors Aweigh for letting me take over her blog for a day!

Ruffle Crochet

While I was home for the holidays, my mom wanted me to make a specific scarf that she could wear to work. Apparently the church she works at is always cold, and she wanted something simple and warm.

So while I was introducing my brother to all the wonders of the show Castle (we watched half of the first season one night), I made this.

2013-12-29 21.26.34

I used a N crochet needle and left over yarn from a previous project.

Since I wanted to make it before I left Kansas City, I had to do something simple.

The main body is just double crochet stitches until I achieved my desired length.

To dress it up just a little I did decide to add the ruffle to the side. I am pretty impressed with myself that I made this ruffle up on the fly.

To make the ruffle: one single crochet, one double crochet, one triple crochet, one double crochet, one single crochet. Repeat to the ends.

Surprise! I then made it an infinity scarf by sewing the two ends together.

Not surprised?

Ok, I told you I had a sickness about infinity scarves this year.

2013-12-29 21.25.35

Crochet Braided Infinity Scarf

This was another Christmas gift. Surprise!

This one is fairly easy to do.

I used two colors of yarn and did a single crochet stitch with a medium hook.

First I crocheted three strips of the same length. I did not count perfectly the number of rows. I just eyeballed the same length.

2013-12-19 19.49.28

Next I braided the three strips together. You will want to do it fairly tight because it will loosen up once it is done. The picture below is too loose, so make sure you do it tighter. I took me a couple braids to get it to the thickness I wanted. Also it might be handy to either have clamps or a person to hold it while you braid.

2013-12-19 19.53.32

It will look a little sloppy at this point, but don’t worry once you are done it will look great!

After you braid, you will use a darning needle to sew all the ends together.

  2013-12-19 20.48.26

I finished this project in an evening since it is all simple stiches. It is really easy!

You can vary this design a lot. You could do various stitches, have all the same color, or do three different colors. The options really are endless on the style.

It will make a fairly thick infinity scarf so make sure you make it long enough to double up or short enough that one go around doesn’t look silly.

2013-12-19 20.48.04

Crochet Infinity Scarf: Back Post Stitch

As promised, here is the scarf that matches the boot cuffs I showed on Sunday.

2013-12-21 11.48.10

I did this more than 6 months ago, so I don’t have specifics of how many stitches it took and the like.

I do know that I learned how to do the back post stitch! A friend of mine showed it to me, but here is a pretty good video of how to do it.

The only thing I did different is that I did not do a regular double crochet stitch in between each back post. So every stitch across the row was a back post double crochet.

I really like the ripple effect that it gives.

Then I used a needle to sew the two ends together so it became an infinity scarf.

Fairly easy, and it was super warm too because the back post makes it pretty thick.

I am not sure how this stitch would look on a blanket, but on scarves and hats it looks great!