Tis the Season

It sure doesn’t feel like Christmas around here. I believe this is for few reasons.

1. This is our first year in KY, so there is an adjustment that occurs to learning holidays in a new place.

2. It has been very rare for Tom and I to be together for the holidays. Actually there has only been one other year (out of 7) that we will be together the WHOLE time for Christmas. It just is what it is…

3. There has not been snow. Ice, yes, but “play in it and build snowman” snow, no. This was my December last year.

4. I didn’t realize how much my “inner” schedule was dictated by the residence hall schedule. I have not done a hall closing/opening since May, so it’s just been a continuous semester for me. I am used to having this huge hooplah of getting thousands of students out of my “house” and then hibernating for days. Not so much this year.

5. I haven’t bought a single Christmas present…Talk about being behind! Ugh.

6. We only have two Christmas decorations out. Growing up, my step-mom started decorating elaborate-gorgeous-magazine-like scenes once November hit, and my mom listened to Christmas music for months straight along with the Lifetime-like Christmas movies before Lifetime was a thing. So only having two things out is really sad when I start to think about it.

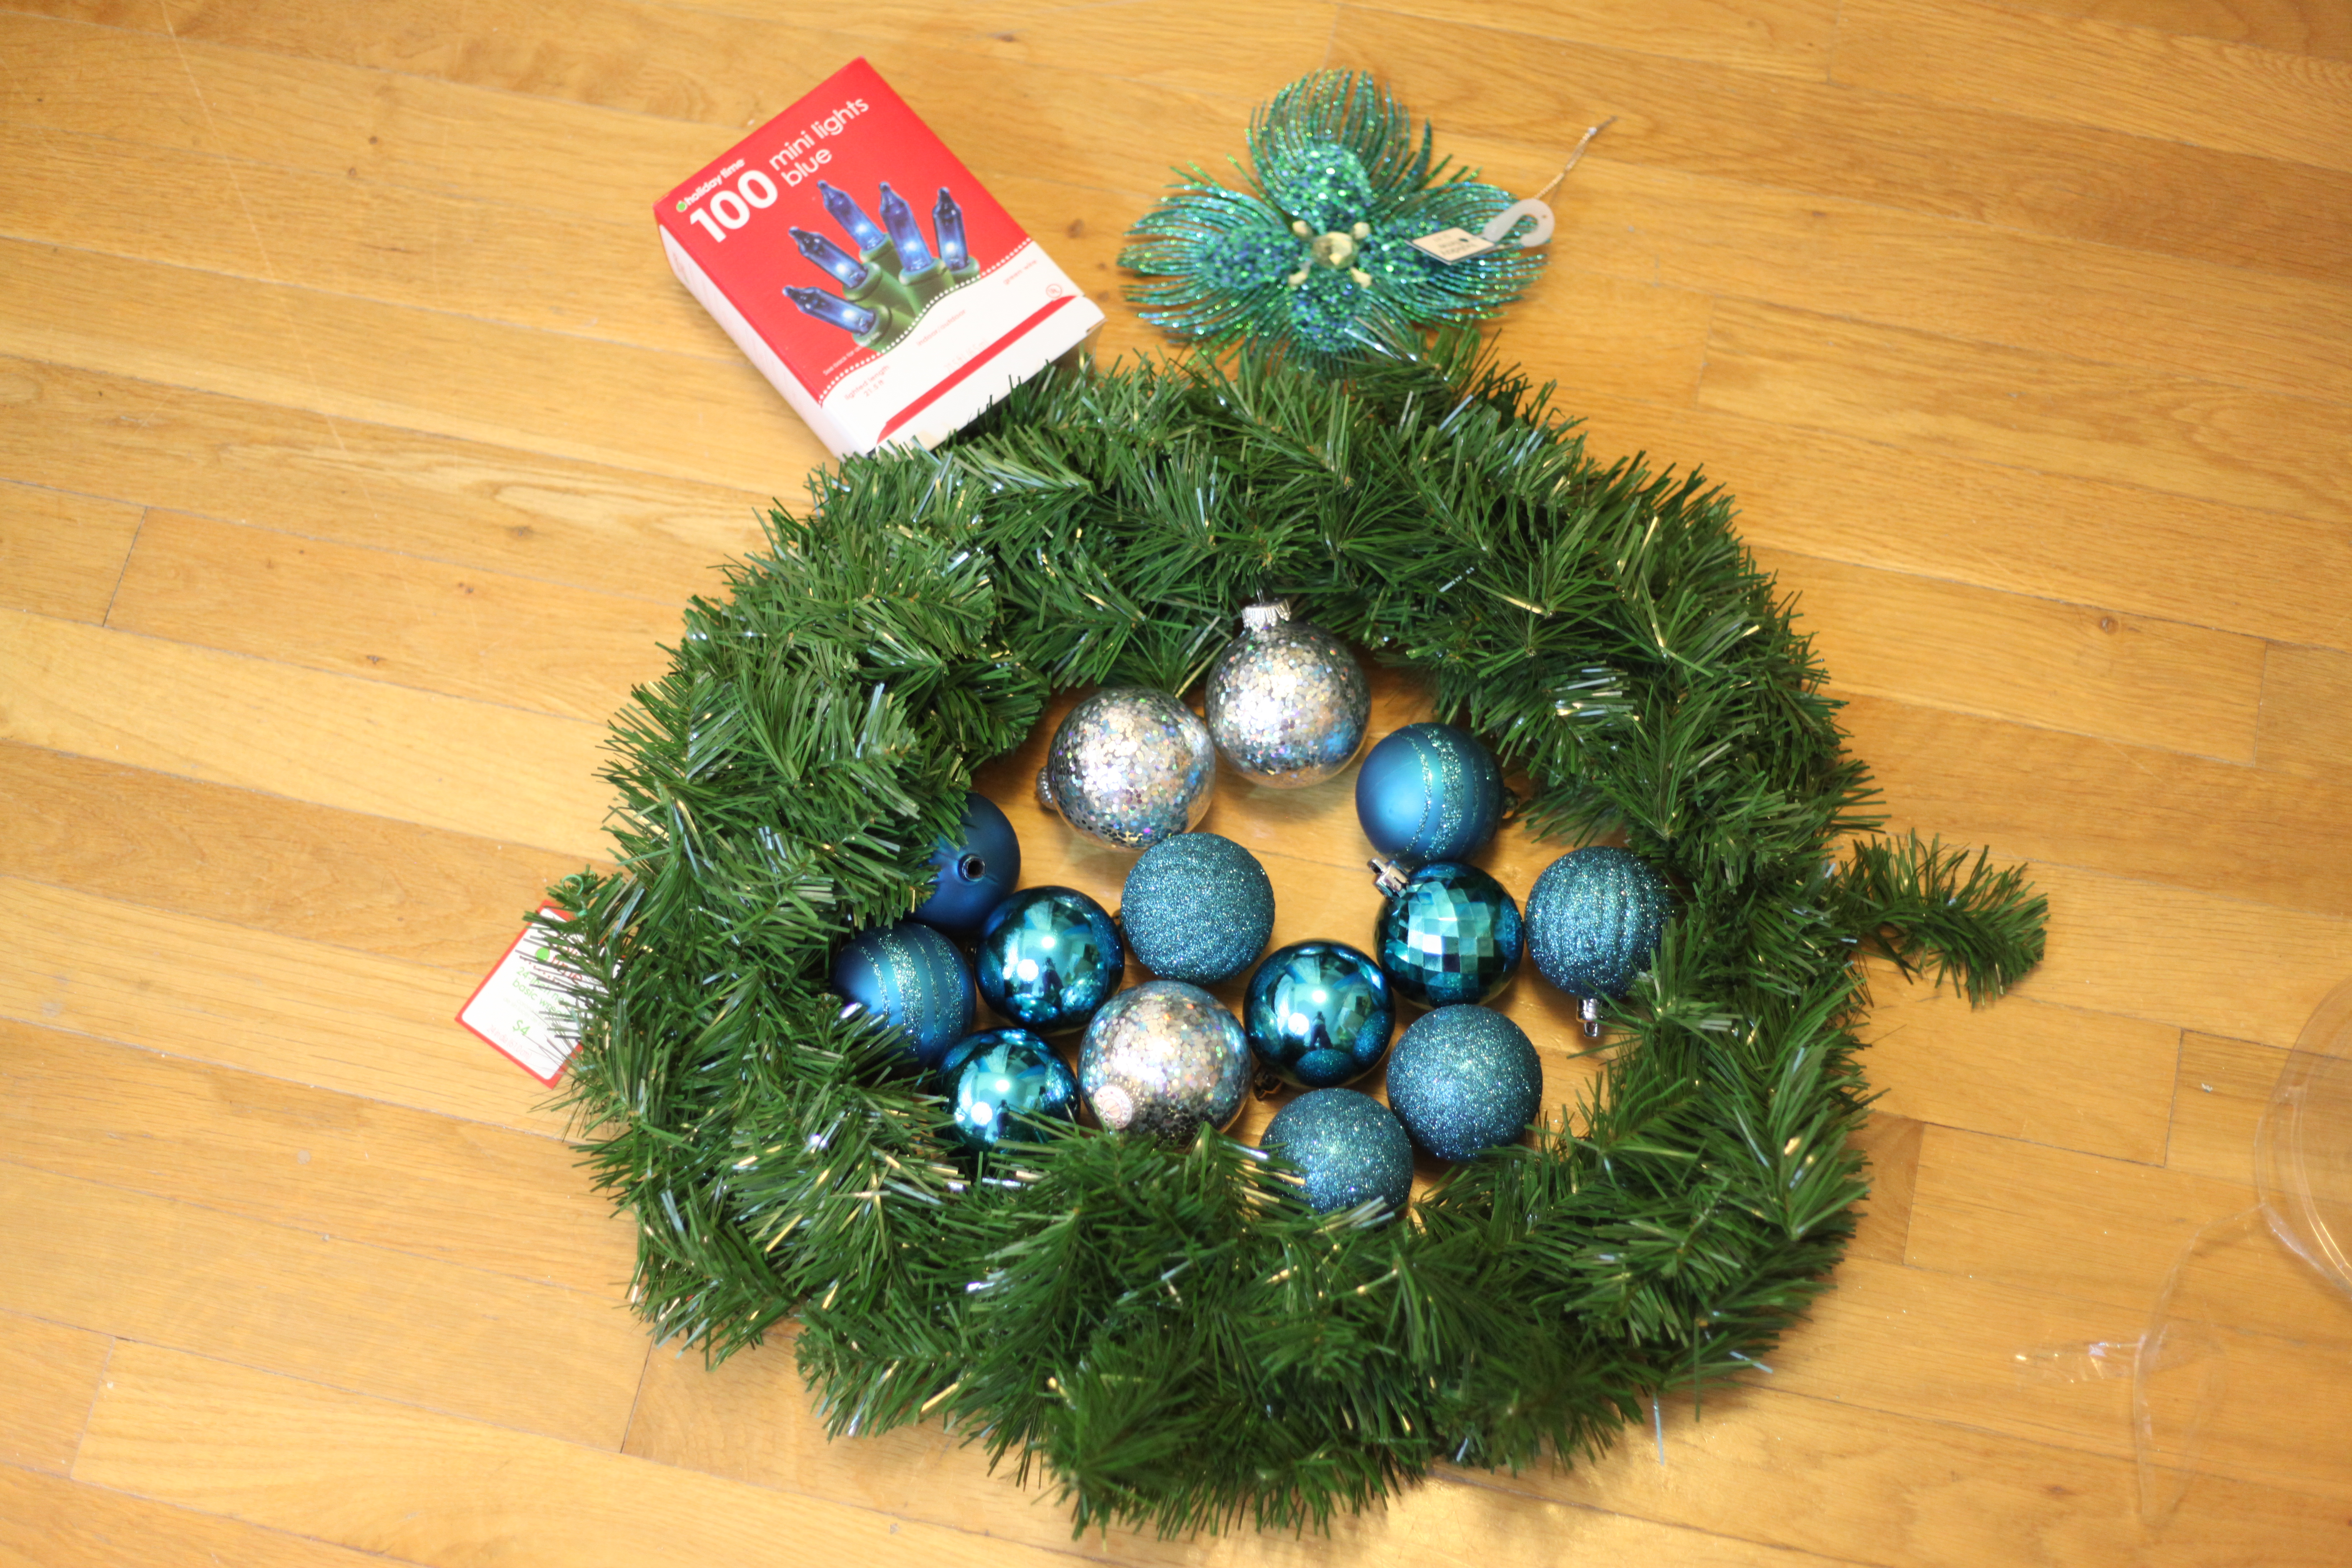
I talked about the wreath a few days ago, and how we didn’t want to get out all of our stuff due to traveling. I cannot wait until we are forever stationary because I am really looking forward to having roots for the holiday season.

Anyway, so we have the wreath, and one more item.

I bought these jingle bells last year when Hobby Lobby was having their Christmas blow out/whatever. I think they were like a dollar or two.

So they have been sitting in my “to make” craft box for a whole year. So I figured it was something simple to put up and provide us some holiday happiness.

Supplies Needed for Jingle Tree

  • jingle bells (I had 6 containers, but I only used about 4.)
  • cardboard tree
  • one big ornament
  • glue gun

Sorry the pictures aren’t the best quality. This was the night when we tried getting the sewing machine to work, and our first attempts at the wreath. So we were not happy craft campers. This was an attempt to save my crafting sanity with an “easy craft.”

2013-12-01 16.57.56

First I sorted out the colors and figured out a “pattern” I would follow. The pattern didn’t last too long because I realized I had more green and red than the other colors. Thanks packaging guys.

2013-12-01 17.08.19

I just hot glued them row by row. I put them as close together as I could.
You can see the wreath debacle over there….

2013-12-01 17.25.23

You can see the cardboard still. You could add garland or tinsel in the middle, but I was too lazy/cheap to get those. And it doesn’t look bad without it. I think if I had it in a brighter room, I would think differently and would want the extra bling in the cracks.

2013-12-12 06.56.22

In the wreath adventure, I had broken one of these disco balls. However, it worked out nicely that it fit perfectly on top of this tree. So I just glued it on top. Perfect topper!

So there you have it, now you have seen the two decorations in the Whitener household. Someday it will be different, but for now we are traveling holiday experiencers.

Holiday Decor

We have plans to be with family for a good portion of December, and Tom and I are pretty practical home decorators. Not that we don’t love the holiday spirit, but we didn’t want to spend a whole lot of time decorating when we wouldn’t be here to enjoy it. Plus we don’t have room for a tree, so we decided to keep it pretty minimal on the Christmas decorating.

So the 2 tubs of holiday decor has stayed packed away.

However, we did want some holiday spirit, and we needed a new wreath to replace our fall one.

This was quite a craft affair. It was one of those times that you can’t get your idea to pan out as you plan.

We tried putting ornaments on an old wire hanger, but we didn’t have enough. I had already spent 10 dollars on this bunch, and I didn’t want to spend anymore on another box.

2013-12-01 16.06.55

Then we tried wiring it to another wreath thing I already had. We also tried hot gluing it.

2013-12-01 16.16.15-1

Continued failure. Ugh. This has been the story of our crafting life this week. We tried getting our sewing machine to work for almost 4 hours on Friday and another hour on Saturday. We think the thing has died or the repair is going to cost more than what it is worth, which is awesome because I have used it a total of 3 times.

So admitting my defeat to the ornament wreath, I broke down and bought a 4 dollar wreath.

Final supply list:

  • ornaments
  • string of lights
  • wreath
  • picture hanging wire
IMG_9935

We didn’t use the peacock feather ornament. That was supposed to be part of the original plan, and it just didn’t work with this one.

IMG_9939

First, I wrapped the wreath with the lights.

IMG_9945

I grouped 4 sets of 3 balls with the picture hanging wire. Then I just tied them on the wreath like a twist tie. Super easy!

IMG_9946

I did a couple single ones too.

IMG_9953

bingo, bango, bongo

This is a really easy project once we figured it out. It looks classy and simple with the same color scheme. We have several of the balls left over so I may make garland with it in the future.

wreath Collage

2013-12-08 00.05.12

It looks so great! And it is such an up-lifter coming home to this on the door.

Feeding the Army

Our first solo Thanksgiving went pretty smoothly.

We are adults! Whoop whoop!

The only hiccups were that we did not plan ahead on our grocery trip and waited until this week to get stuff. We had to make a couple trips to different stores to find what we needed. And the other, is that I over estimated how much time the noodles needed to be cooked for my Glinn noodles addition, so half of them were paste instead of noodles. Whoops.

Everything else went great.

We managed to have 8 adults, 3 small children, and 3 dogs in our small little kitchen. We literally fed the Army.

It was so great in comparison to Thanksgiving last year. My husband and the other 4 guys were deployed, so really my competition of Thanksgiving pasts was pretty low. I was most thankful to be able to share the day with my hubby and start making some of our own holiday traditions since this was the first time to celebrate any holiday under our own roof.

Of course I had to craft for the day. Since I knew that we were not all going to be sitting at the same table, and also that it was Army men I was feeding, I was not really concerned about place settings, chargers, napkin holders, and table runners. Someday I will, but not this year.

However, I still wanted it to be a little festive.

Supplies Needed:

  • scrapbook paper
  • canvas boards
  • paint
  • letter stencils
  • string
IMG_9893

supplies

IMG_9900

First, I painted the boards a nice fall brown. I only needed one coat.

IMG_9905

Second, I picked out several sheets of scrapbook paper. I cut out flags for one board. I put the string on top and glued it down. The other is supposed to be a turkey, but it looks more like a flower.

IMG_9906

I used a hot glue gun to put these in place. I am sure you could mod podge them, but I have never had good luck with mod podge doing what I want it to do.

IMG_9909

Then I used the stencil to paint the saying on each one. It took awhile because I had to let each letter dry before moving on to the next one. I would have used my Cricut, but I cannot get it to cut scrapbook paper without ripping it, so if someone has advice I would love to hear it!

IMG_9910

I have been wanting to do something with this saying for awhile!

We had a feast for the Army for sure.

2013-11-28 10.42.47

The bird before.

2013-11-28 15.52.35

The bird after.

2013-11-28 12.45.50

I always struggle with making deviled eggs not look like I threw them back up. They always taste great, but I don’t have the knack of making food look great. So I was pretty impressed that they turned out decently this time.

2013-11-28 16.17.26

Yes we bought paper plates. And I think they count as decoration. And so does the PT belt.

2013-11-28 16.17.20

some of the sides

2013-11-28 16.17.04

the rest of the sides

It was a great day with our Army family. So much to be thankful for!

2013-11-28 20.23.03

These are all the leftovers. Tom and I will be eating Thanksgiving for awhile. Our fridge is like a puzzle every time we want something. Anyone want to come over?

We had a great time hosting, and we learned some tricks of what to do in the future. For our first time though, we did pretty awesome. High five to us!

I hope that your Thanksgivings were filled with fun and good eats. We had the best weekend in the Whitener household!

A Little Bit of Thanks

I work in a profession that you cannot always do show appreciation with flashy things or a raise. Often the students that I work with do so much for very little pay or none at all.

I really try to show them that their time and effort means a lot, and there are so many ways to show this gratitude without breaking the bank.

My favorite way is baking because you can always find something to hit a sweet tooth. This is a great way to personalize a token of appreciation to what that particular student likes.

But sometimes I decide to do other things.

I coordinate our volunteer note taker program at work. This is were a student who is registered in our office cannot take notes on their own due to their disability and have requested a note taker. I then recruit within their class for someone to volunteer to turn in a copy of their notes. It sounds easy, but semester after semester we still have 40-50% of our class requests unfilled. So I have been working to decrease that all semester. And successfully, I have gotten the unfilled request to about 25%. Whoop whoop.

One way I have found effective is constant contact with the classes and the students who do volunteer their time.

I wanted to say thanks for taking the time take effective notes and let us copy them. Although it may seem easy to turn in something you should be doing already, it can be added pressure to these students. Their notes are supposed to help someone else be academically successful, and that is a big reason why most people don’t follow through with this volunteer role. So I wanted to thank the 100 students who did this semester.

I made these treat bags to hand out one Friday when they all typically come to turn in their notes.

2013-11-14 10.38.13

We got the candy bags from the dollar store, and the candy was on sale from Halloween. Then I just made the tags in Publisher and whole punched them to use the twist tie to attache them to the bag.

2013-11-14 10.38.34

Since I had a lot of students, I went this route. I have made more intricate things in the past for a smaller group.

380164_781596847061_659227864_n

I made these “dynamites” out of Rolos, construction paper, and string.

You roll the Rolos in the red construction paper and glue them in place. Then tie three “sticks” together in the middle. You will also leave a little string out on the end as the “part you light.” Then I glued the circle in the middle with my note to the student.

406982_781596891971_1692586794_n

I love the cheesiness factor, which I understand may get lost on some students. It is the thought that counts!

Do you have little ways/small gestures to thank people in your life?

Painting a Reminder

I am a very visual person. I have to write things down or see it in order to remember it. Post its are my favorite office supply, and I have several planners to keep track of all my lists.

So when I was going through some of my rougher days trying to remember to be passionate about my job, I decided to give myself a reminder.

IMG_5400

Start with a blank canvas and paint

IMG_5402

drop dots of paint all over the canvas

IMG_5407

Use a small paint brush to smooth and blend the colors together. There is no method to this, just create what you want!

2013-11-13 09.49.11

Paint wooden letters then hot glue them on the canvas.

This was so easy to make and is a great reminder in my office every day. I am there for the students.

2013-11-13 09.49.22

Adding some color to the walls

This project is super versatile. You can do it without the letters and just have the painting. You could also keep the colors in the same hue to blend. Obviously, you could have any saying/words you want. You could also tape the words down first then paint over it and peel it up so it isn’t 3d like I have here. You could also do this finger paint style if you want to do it with kids (or adults).

As you can see, this is easy to create to your own style.

I love reminders, and I love art:  perfect combination!